以下の点に注意してから作業を始めてください!
- パソコンで作業をする
- ブラウザの自動翻訳機能をオフにする
LINE Developersに登録・設定
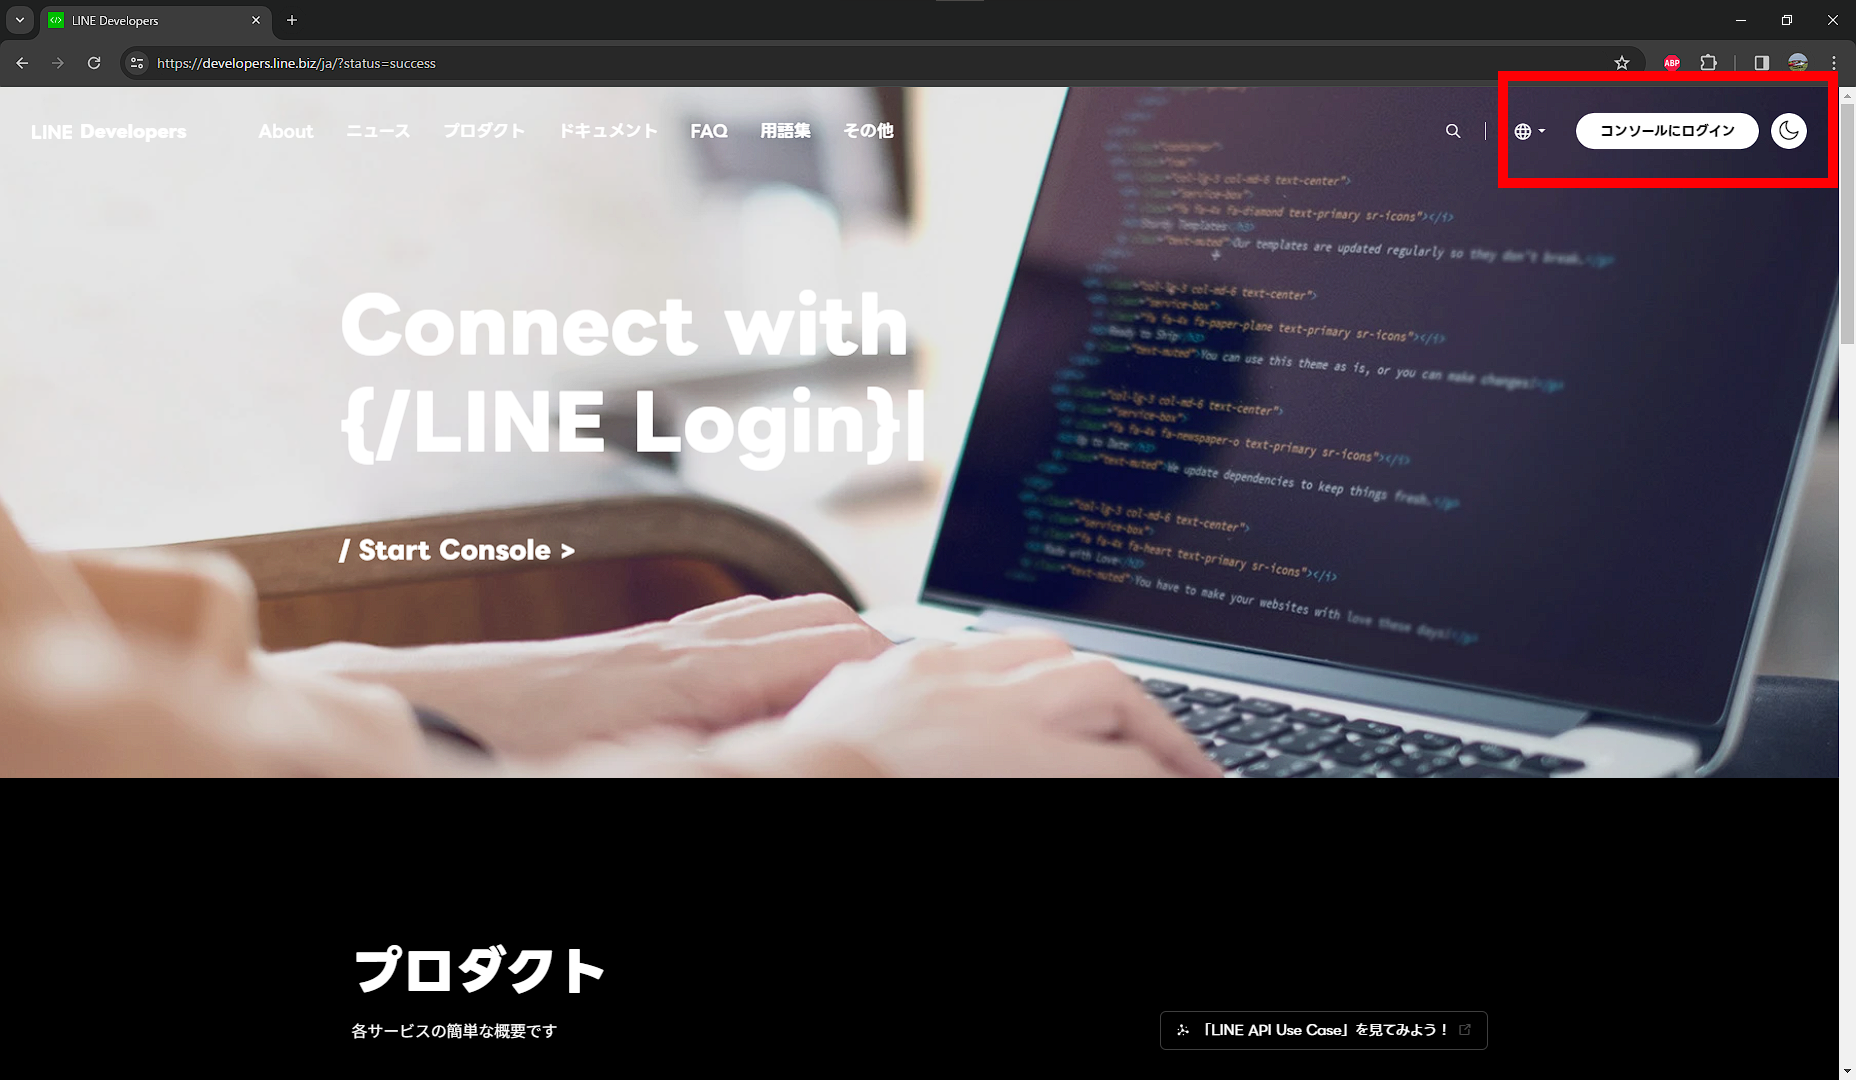
1.https://developers.line.biz/ja/にアクセスします。
2.ページ右上のコンソールにログインをクリックします。
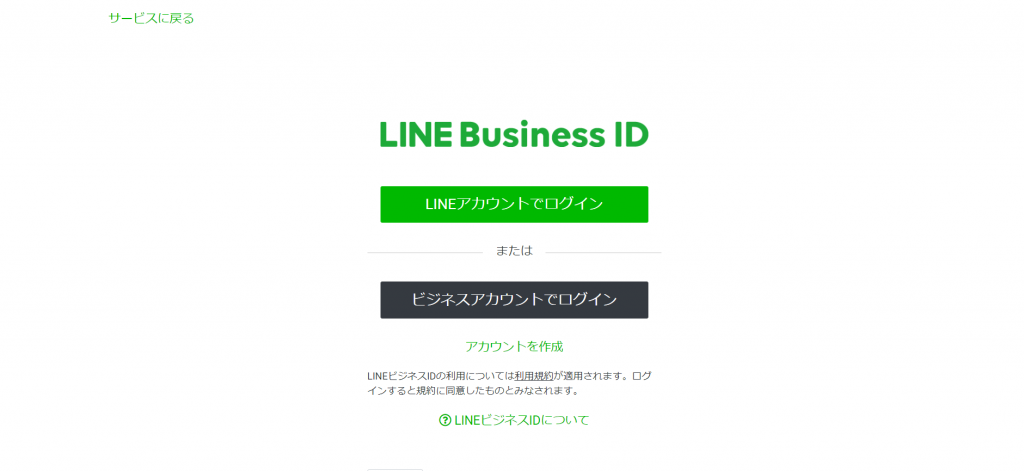
3.前回と同じようにLINEアカウントでログインを押し、メールアドレスとパスワードを入力するか、QRコードログインします。
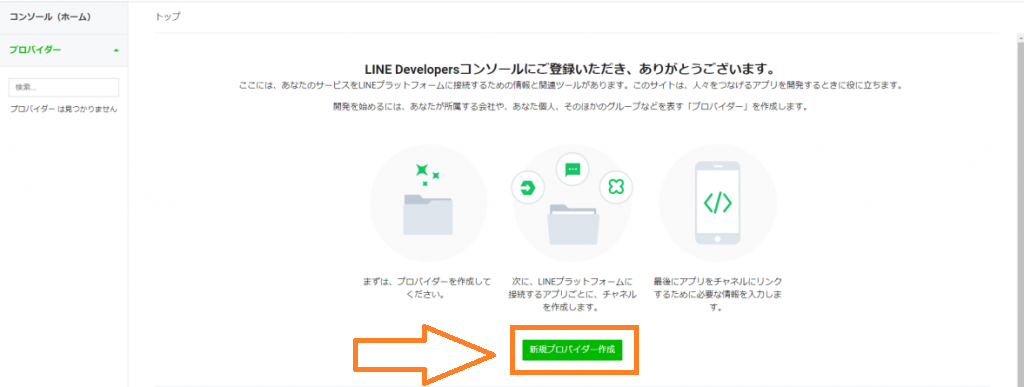
4.ログイン後、ページ中央の下にある新規プロバイダー作成をクリックします。
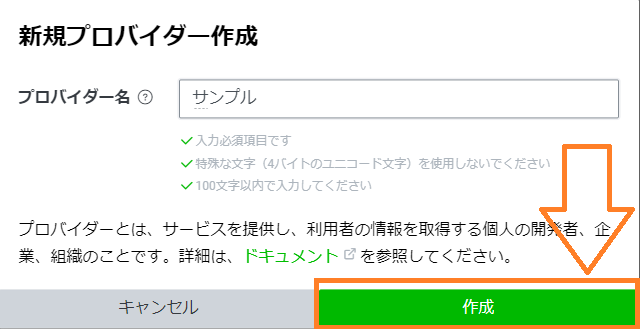
5.新規プロバイダー作成のページで、プロバイダー名を入力後に作成をクリックします。
プロバイダー名は自分の好きな名前で大丈夫です。
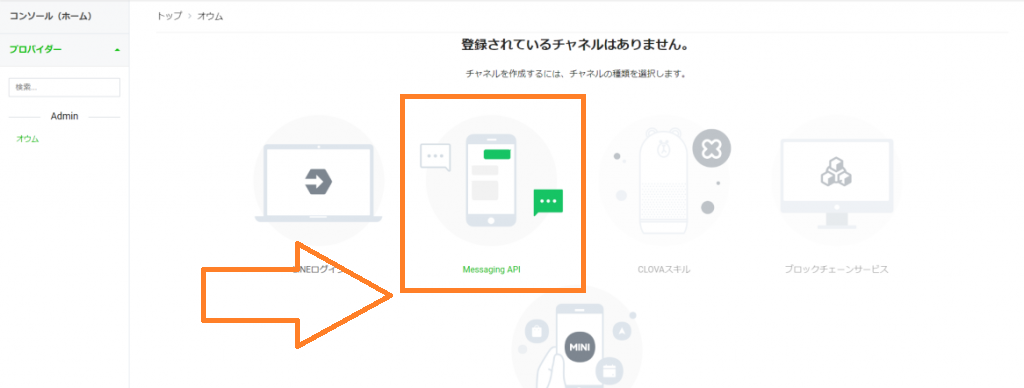
6.続いてmessageAPIをクリックし、チャネルを作成します。
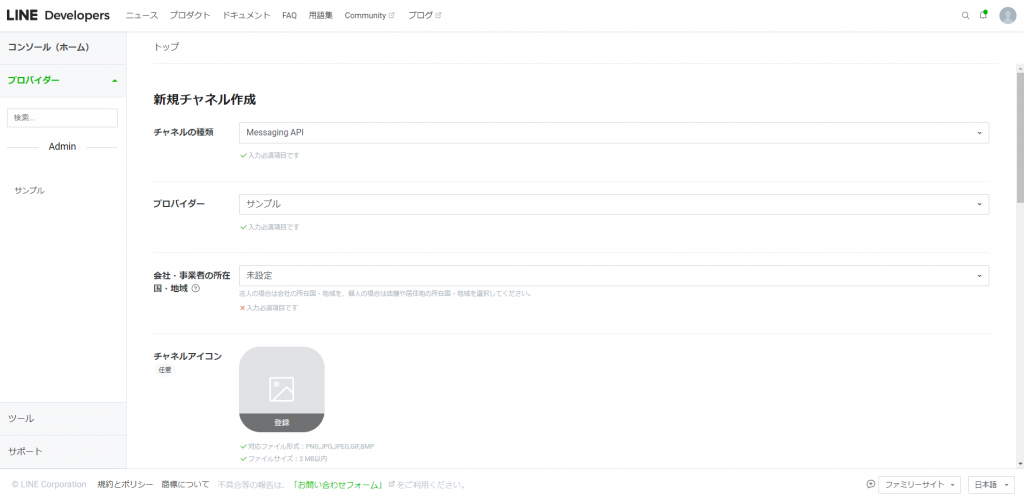
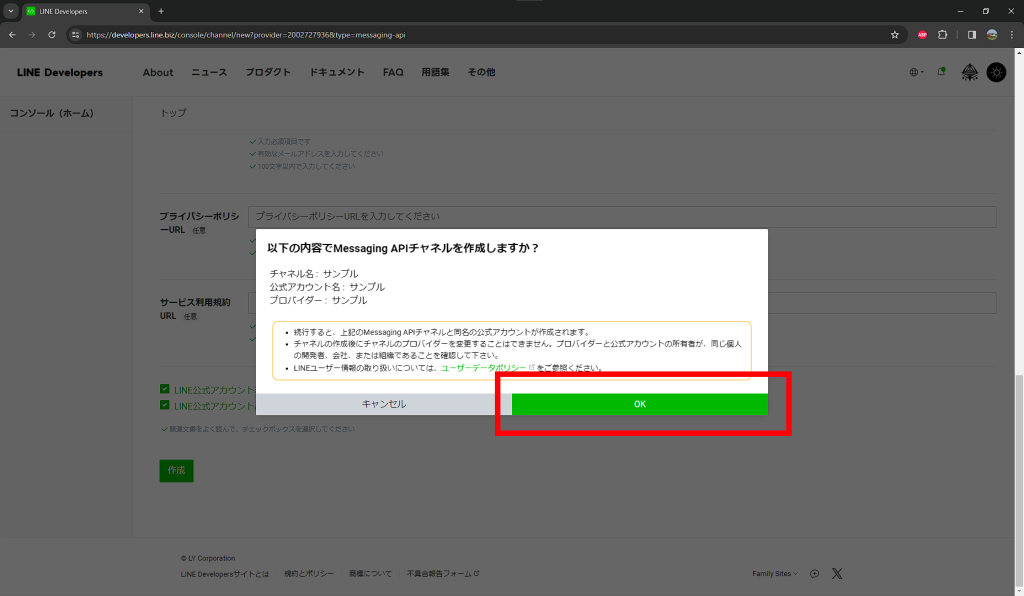
7.チャネル登録ページが表示されるので、入力必須項目をすべて記入し作成を押します。
*任意は書かなくても大丈夫です。
*ここで設定したチャネル名はLINEで実際に表示されるBOTの名前になります。
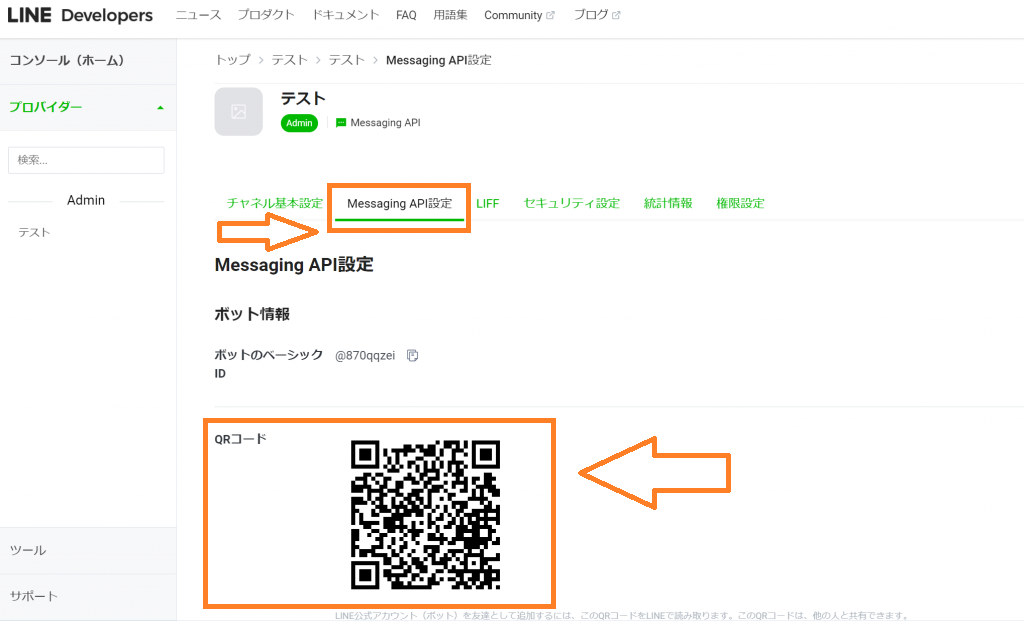
8.次にMassaging API設定を選択、QRコードをLINEで読み込んでから友達追加をします。
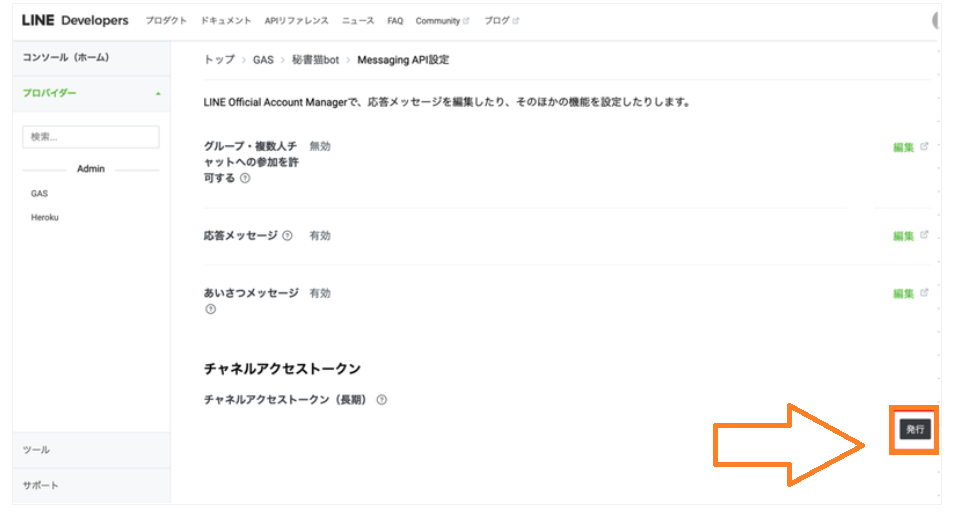
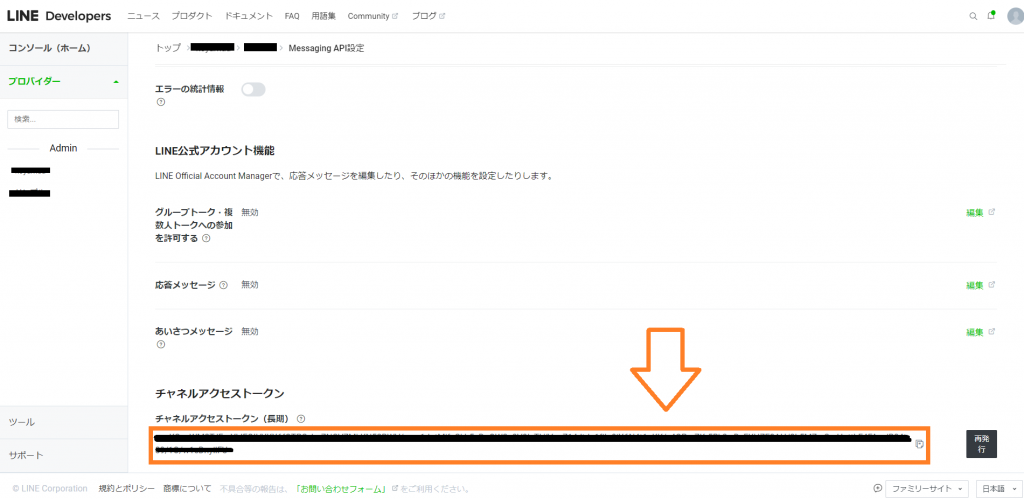
9.友達追加後、下にスクロールしてチャネルアクセストークンの右にある発行を押します。
*このチャネルアクセストークンは後程使います
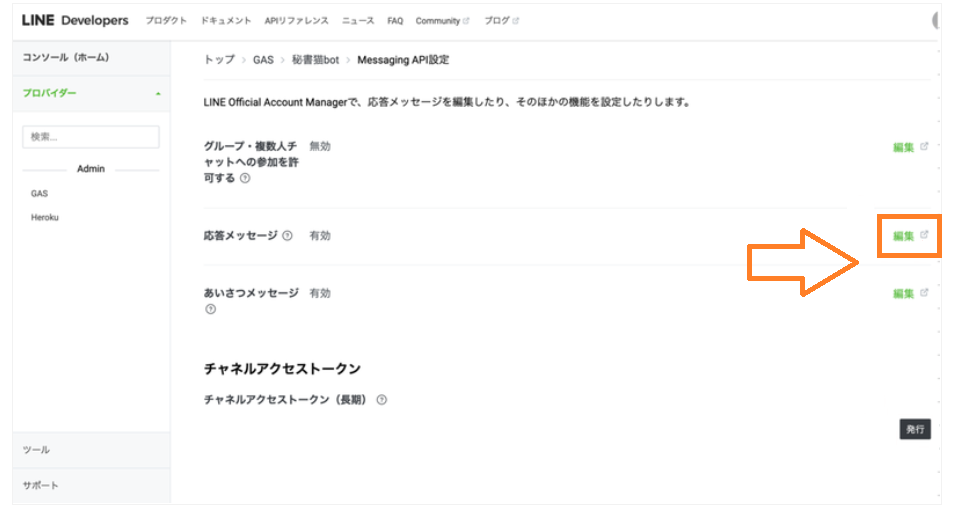
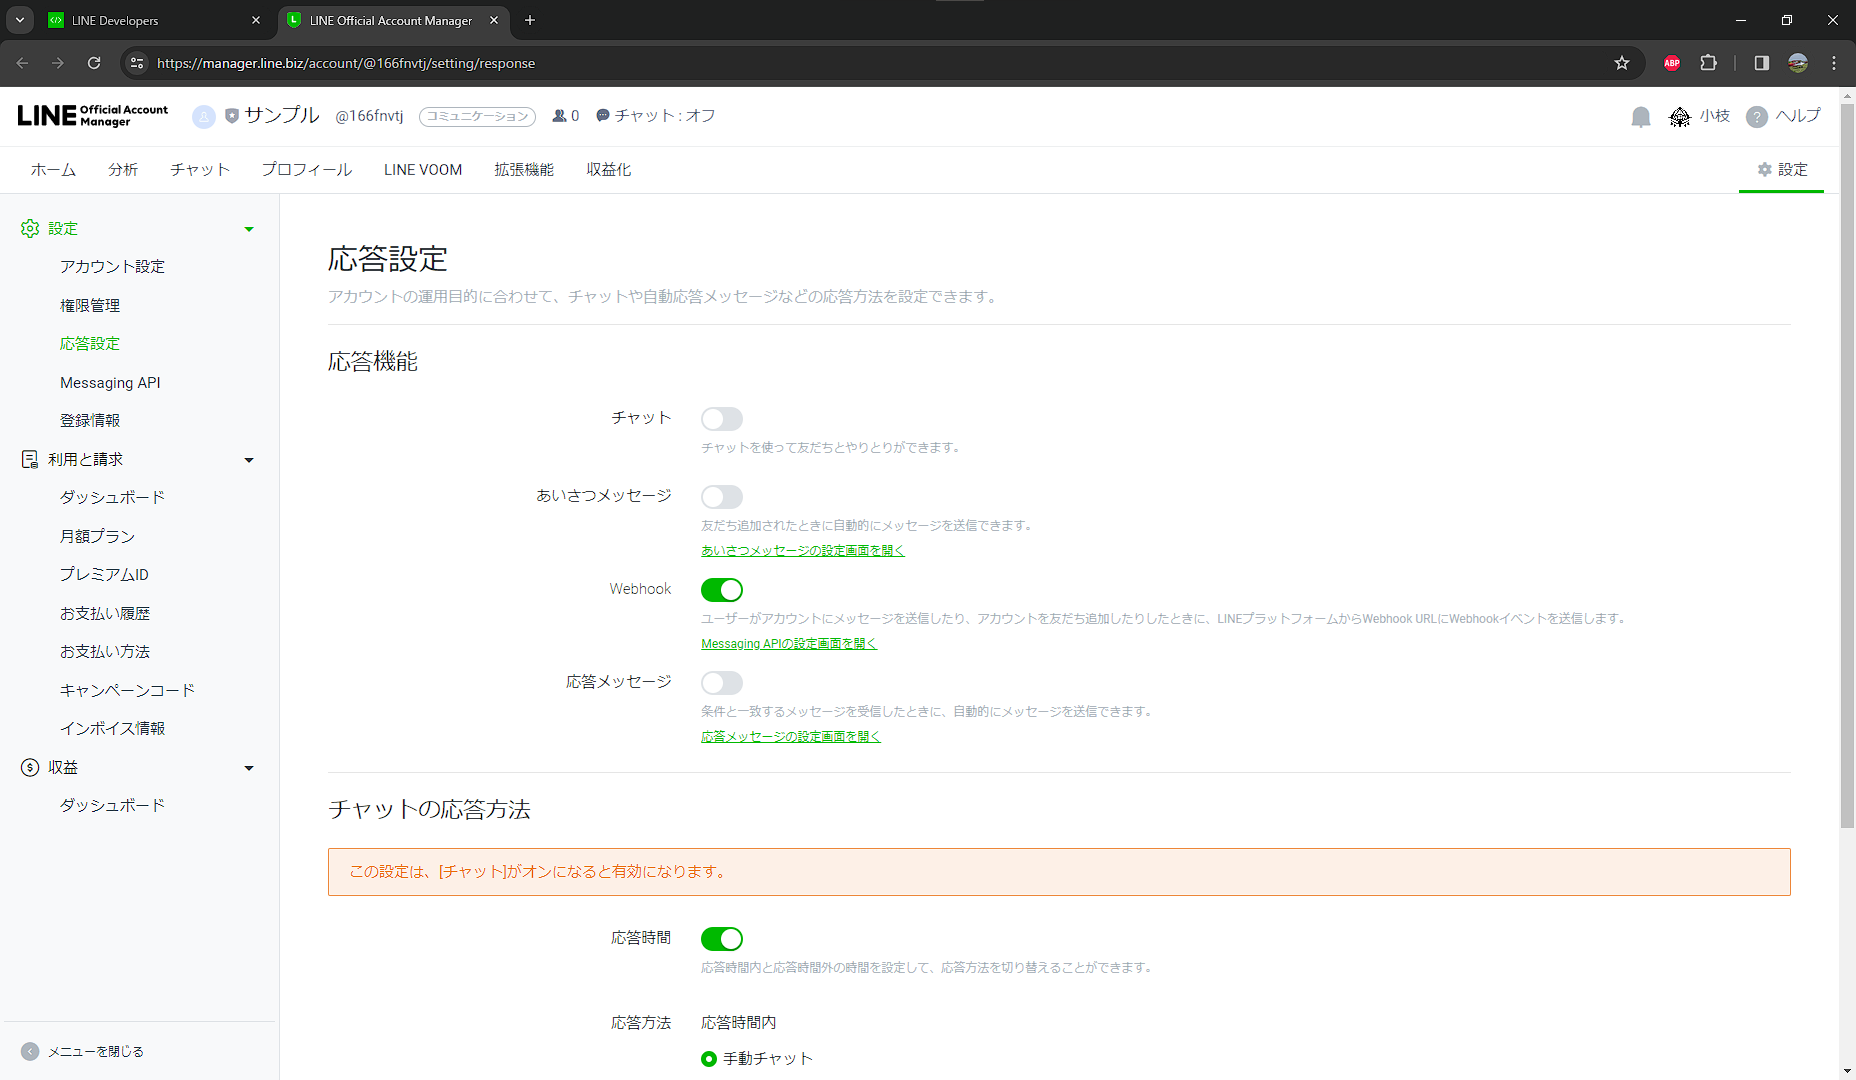
10.応答メッセージの編集をクリックし、応答設定を下記と同じ設定に変更します。
- チャット ⇒ オフ
- あいさつメッセージ ⇒ オフ
- 応答メッセージ ⇒ オフ
- Webhook ⇒ オン
以上でLINE Developersの登録設定は終了です。
GAS(Google Apps Script)の設定
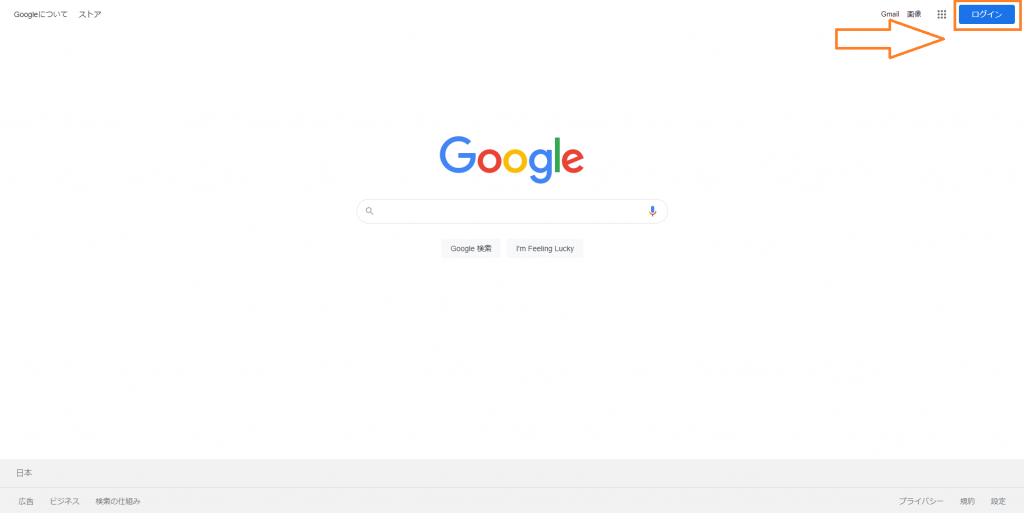
1.https://www.google.comを開き、ページ右上からログインします。
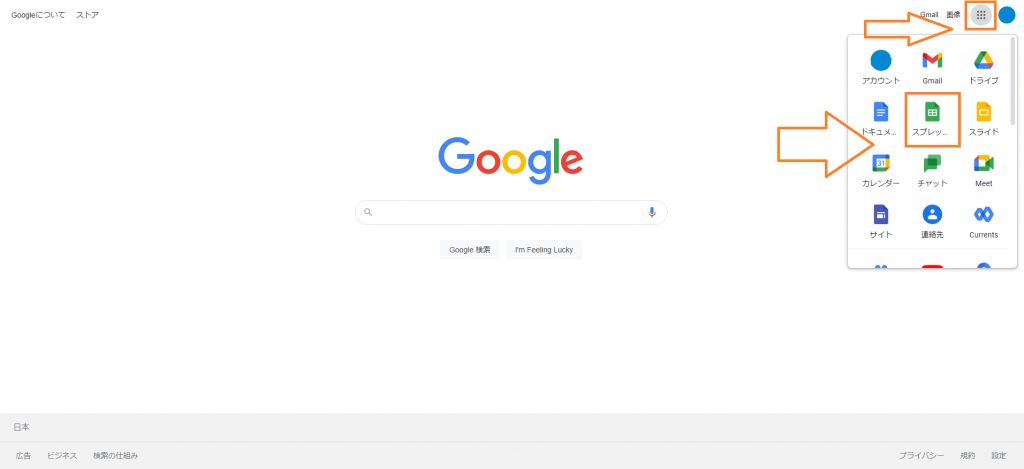
2.ログイン後ページ右上のアイコンをクリックし、下に表示されたスプレッドシートをクリックします。
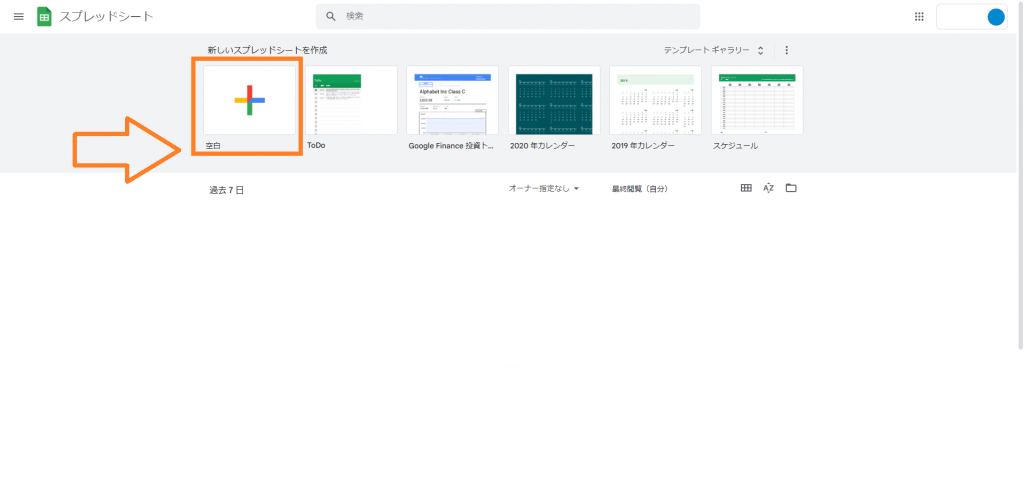
3.新しいスプレッドシート作成の空白をクリックします。
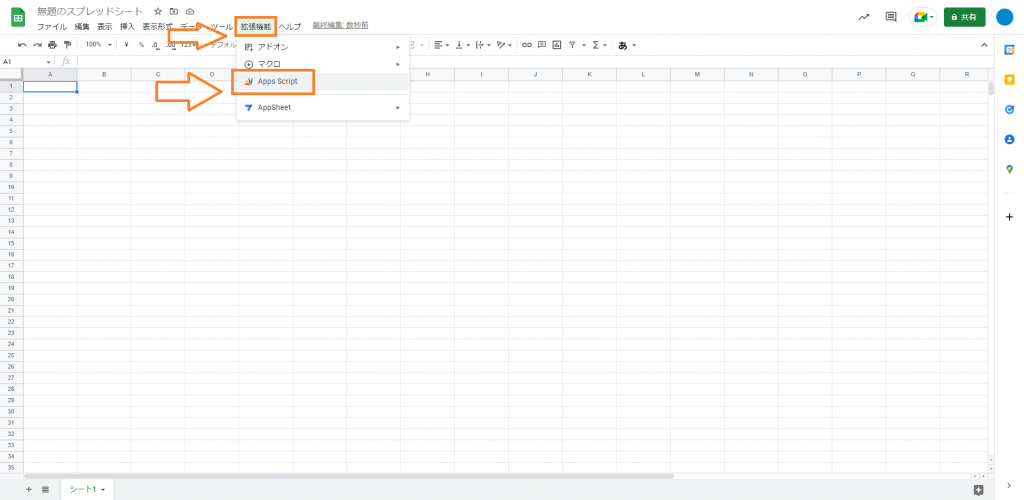
4.下のページに移動したら、上側にある拡張機能からApps Scriptをクリックします。
5.Apps Scriptにはプログラミングを書いていきます。
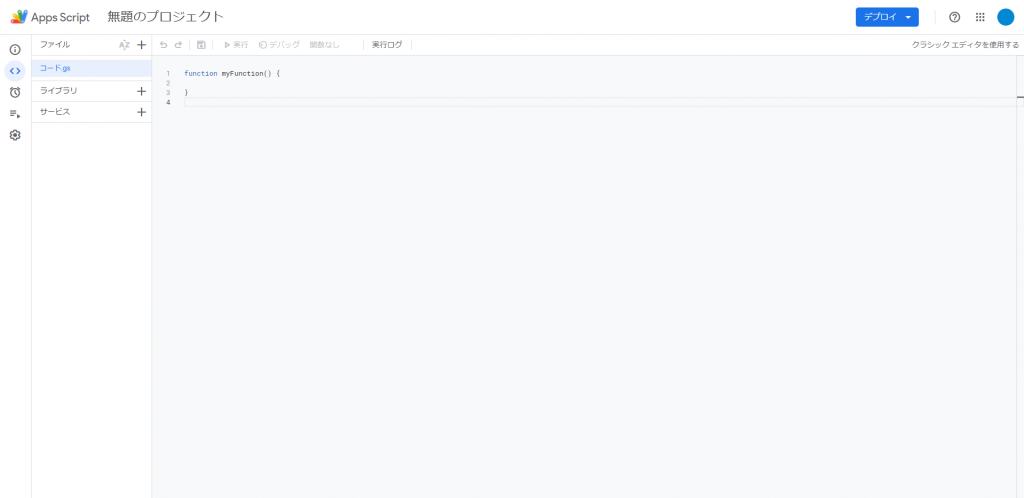
6.最初からあるプログラムはすべて削除し、以下のプログラムを張り付けます。
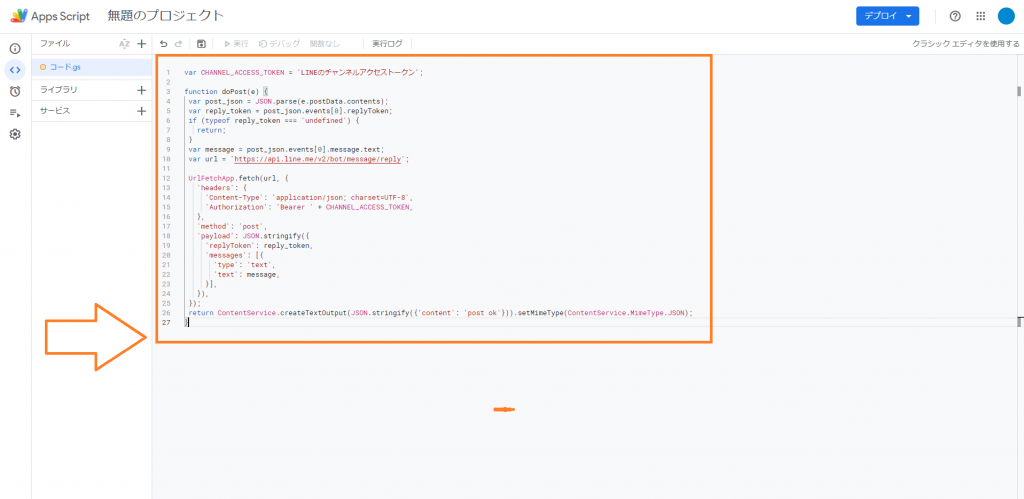
var CHANNEL_ACCESS_TOKEN = 'LINEのチャネルアクセストークン';

function doPost(e) {
  var post_json = JSON.parse(e.postData.contents);
  var reply_token = post_json.events[0].replyToken;
  if (typeof reply_token === 'undefined') {
    return;
  }
  var message = post_json.events[0].message.text;
  var url = 'https://api.line.me/v2/bot/message/reply';

  UrlFetchApp.fetch(url, {
    'headers': {
      'Content-Type': 'application/json; charset=UTF-8',
      'Authorization': 'Bearer ' + CHANNEL_ACCESS_TOKEN,
    },
    'method': 'post',
    'payload': JSON.stringify({
      'replyToken': reply_token,
      'messages': [{
        'type': 'text',
        'text': message,
      }],
    }),
  });
  return ContentService.createTextOutput(JSON.stringify({ 'content': 'post ok' })).setMimeType(ContentService.MimeType.JSON);
}7.プログラム内のLINEのチャネルアクセストークンは、先ほど発行したのを使います。
*再発行は押さないでください。
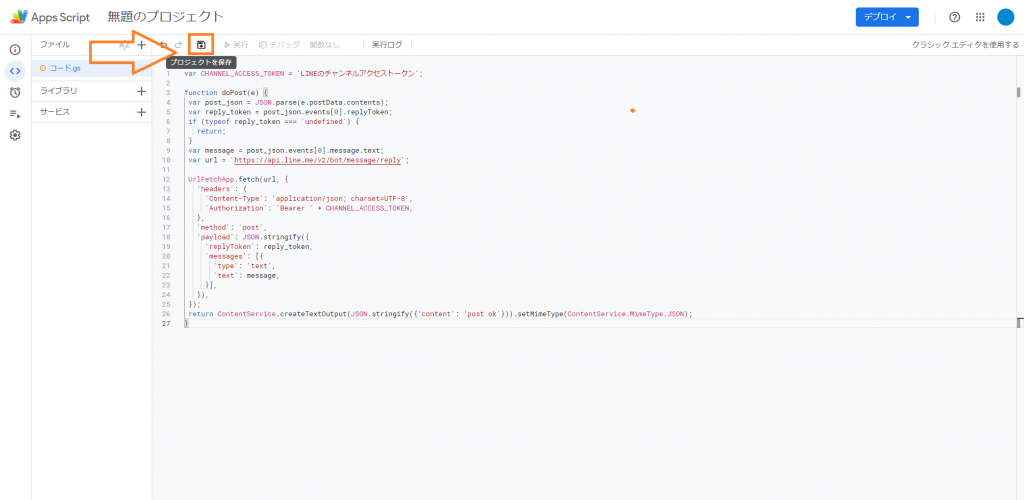
8.入力が終わったら、プロジェクトの保存をクリックします。
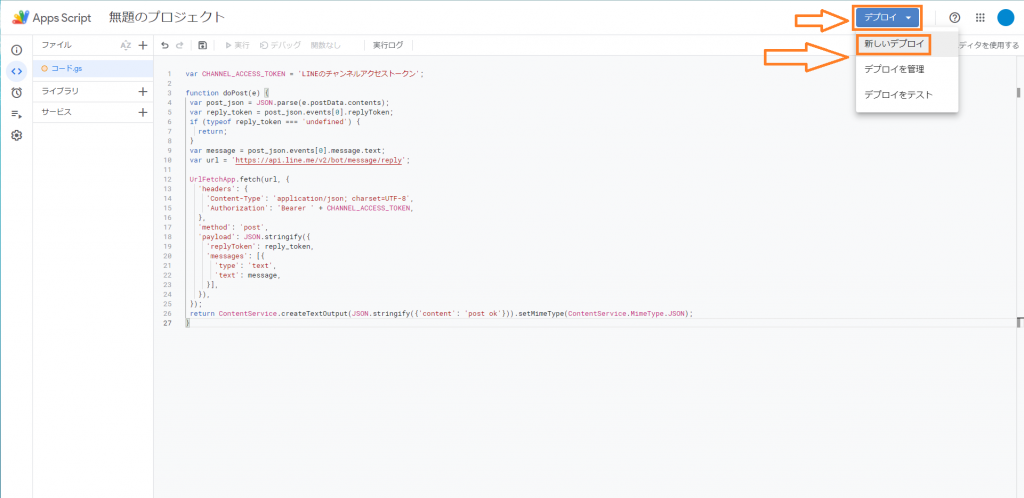
9.デプロイをクリックし、下に表示される新しいデプロイをクリックします。
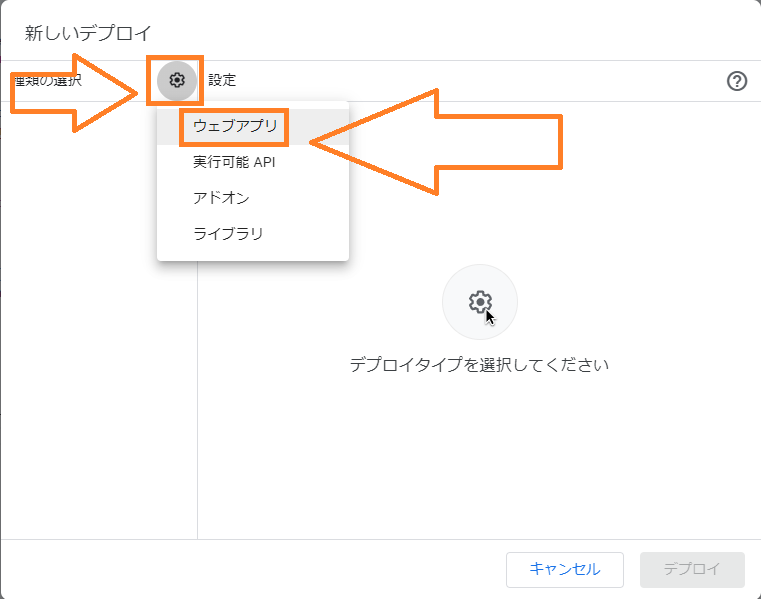
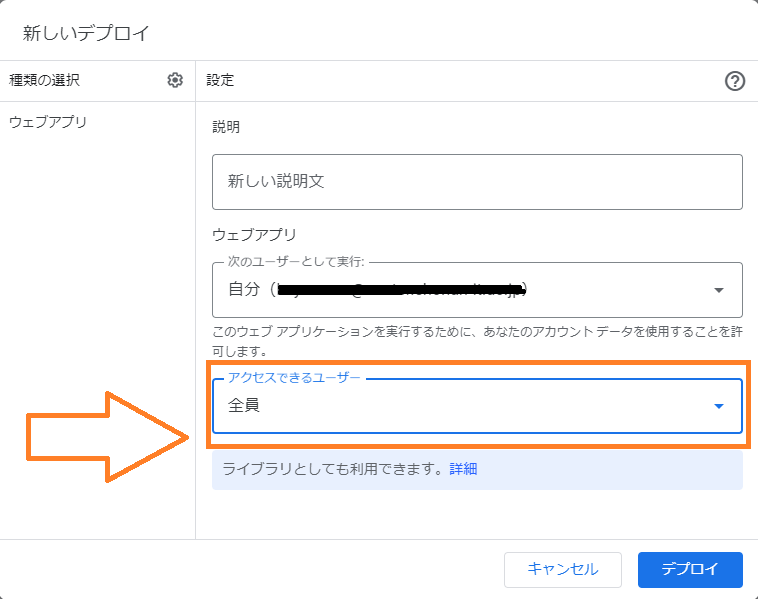
10.歯車アイコンからウェブアプリをクリックし、アクセスできるユーザーを全員にします。
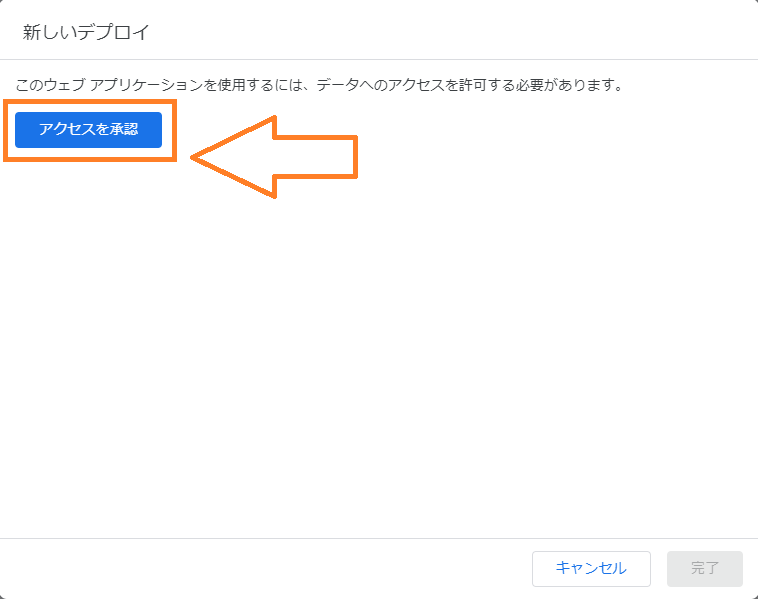
アクセスを承認をクリックします。
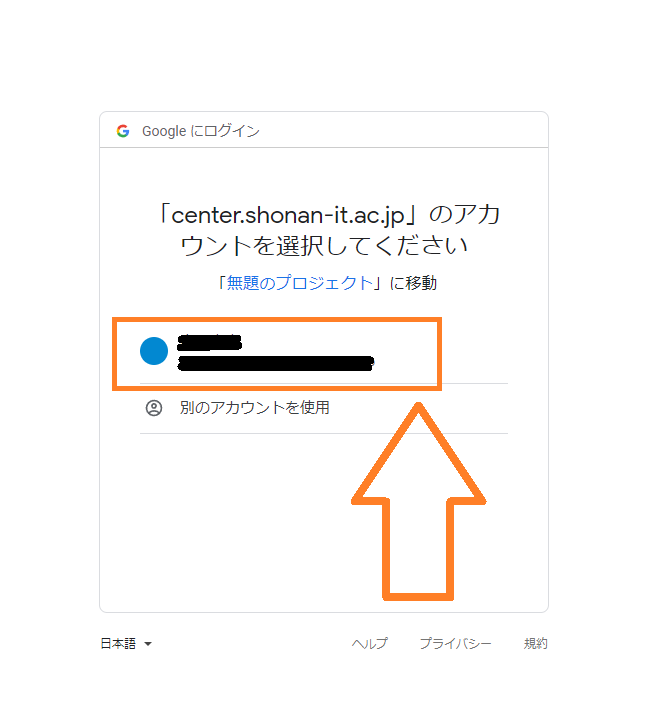
自分のGoogleアカウントをクリックします。
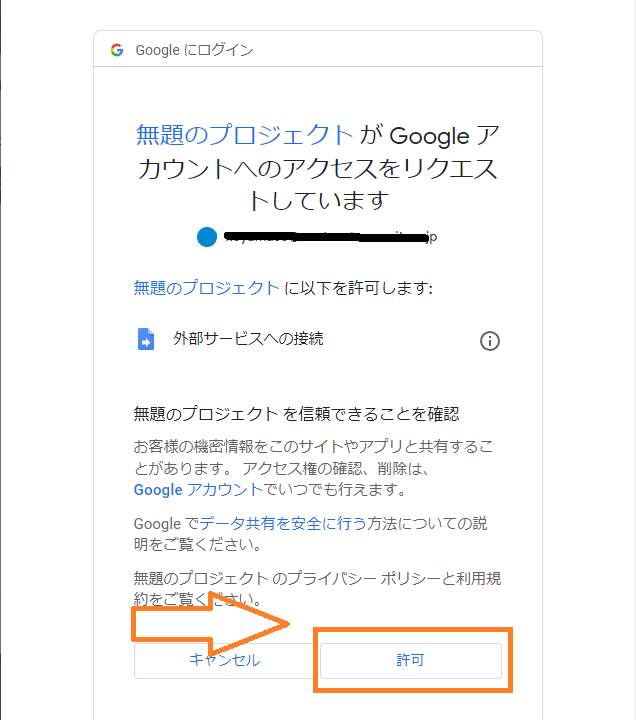
許可をクリックします。
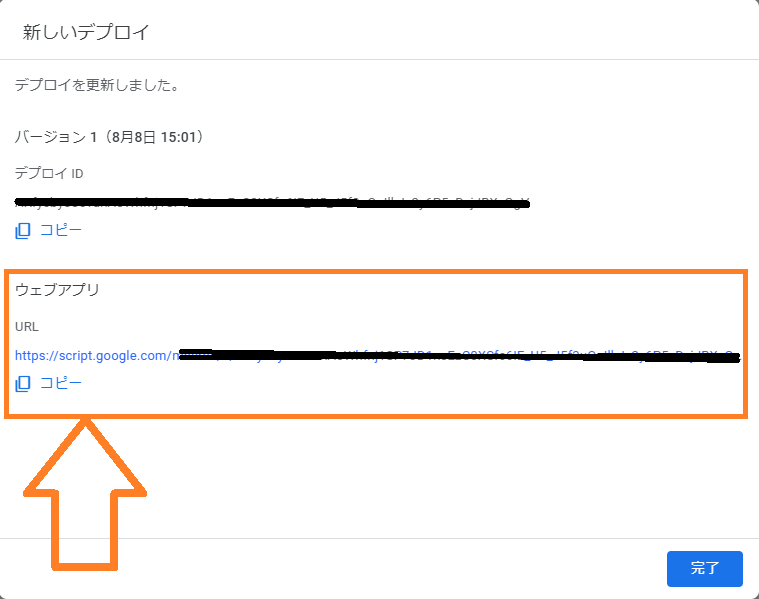
ウェブアプリのURLをコピーします。
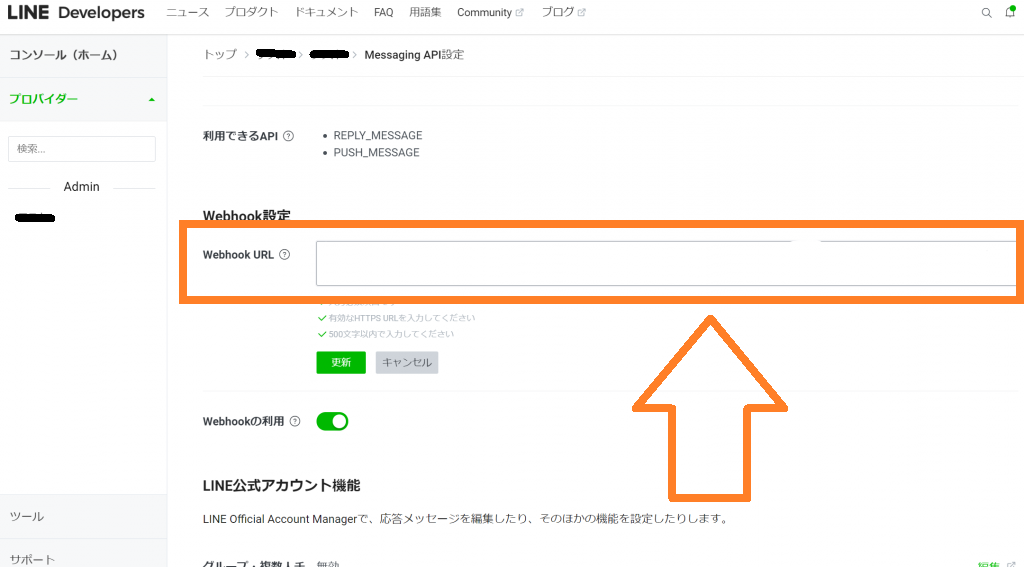
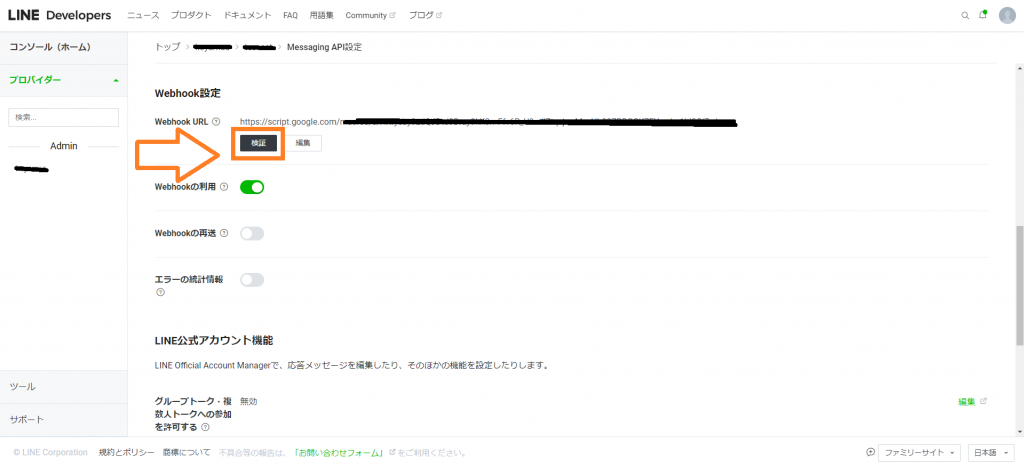
11.LINE Developersに戻り、Webhook設定にコピーしたURLを貼ります。Webhookの利用のチェックも忘れずに!
12.検証もしくは更新をクリックし、成功と表示されたら設定完了です。
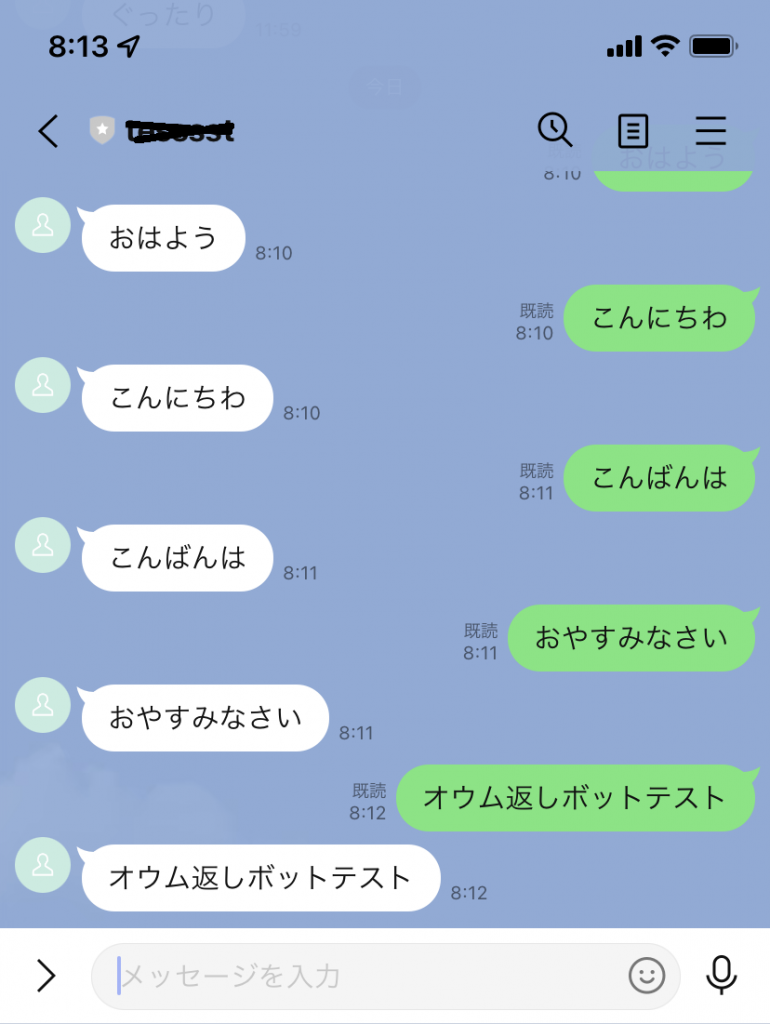
13.実際にLINEを使い、何かトークを送り返してくれば完成になります。
オウム返しのその先へ
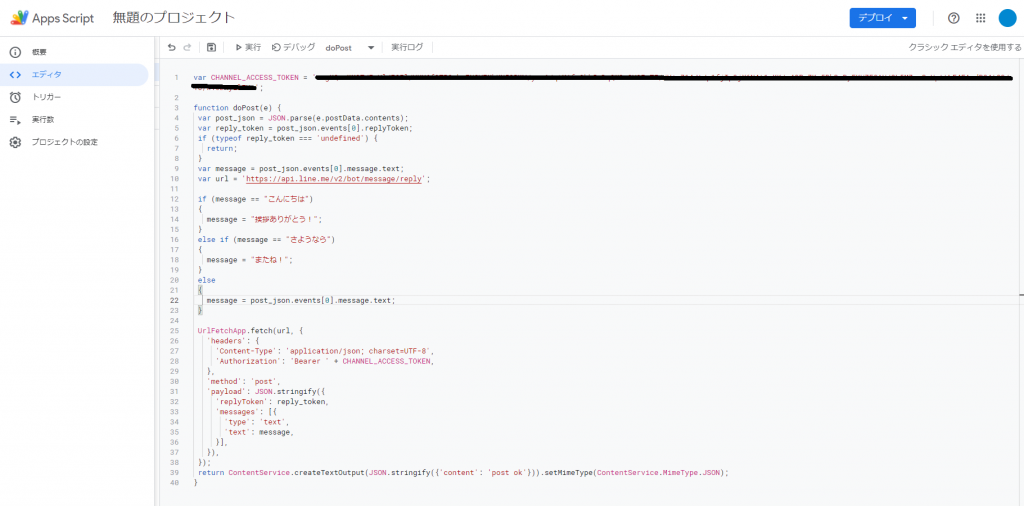
下記のプログラムに書き換えることで、「こんにちは」に対してオウム返しで「こんにちは」ではなく、「挨拶ありがとう!」と返信されるようになります。
var CHANNEL_ACCESS_TOKEN = 'LINEのチャネルアクセストークン';

function doPost(e) {
  var post_json = JSON.parse(e.postData.contents);
  var reply_token = post_json.events[0].replyToken;
  if (typeof reply_token === 'undefined') {
    return;
  }
  var message = post_json.events[0].message.text;
  var url = 'https://api.line.me/v2/bot/message/reply';

  if (message == "こんにちは") {
    message = "挨拶ありがとう!";
  }
  else if (message == "さようなら") {
    message = "またね!";
  }
  else {
    message = post_json.events[0].message.text;
  }

  UrlFetchApp.fetch(url, {
    'headers': {
      'Content-Type': 'application/json; charset=UTF-8',
      'Authorization': 'Bearer ' + CHANNEL_ACCESS_TOKEN,
    },
    'method': 'post',
    'payload': JSON.stringify({
      'replyToken': reply_token,
      'messages': [{
        'type': 'text',
        'text': message,
      }],
    }),
  });
  return ContentService.createTextOutput(JSON.stringify({ 'content': 'post ok' })).setMimeType(ContentService.MimeType.JSON);
}デプロイを押し、デプロイを管理をクリックします。
*新しいデプロイは押さないでください、ウェブアプリのURLが変わってしまいます。

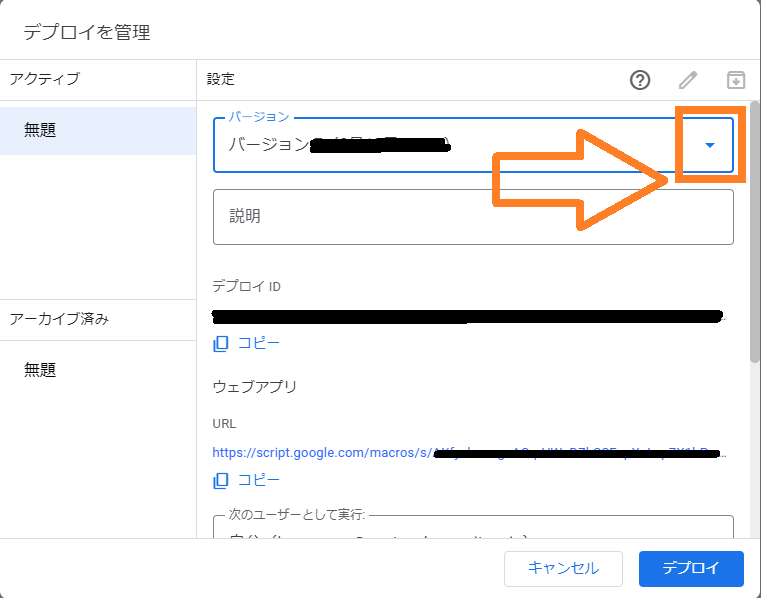
右上のペンアイコン(編集)をクリックします。
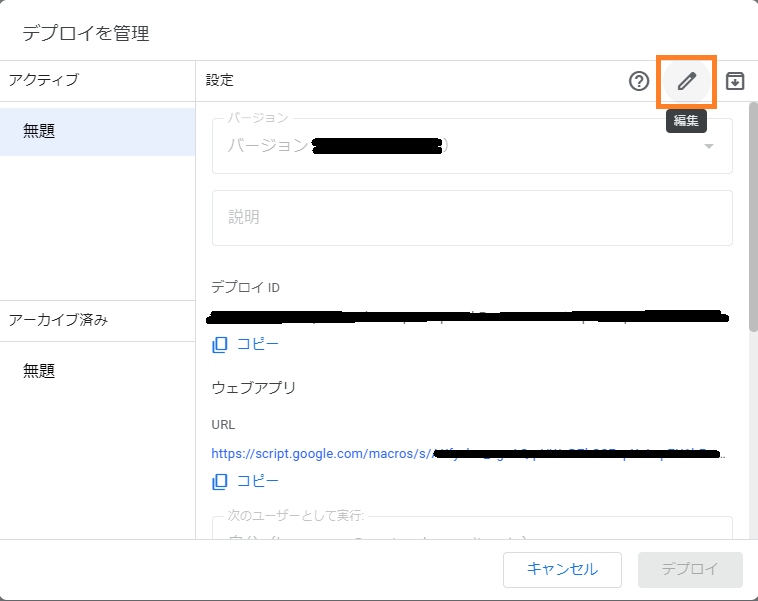
バージョンの欄右にある▼をクリックします。
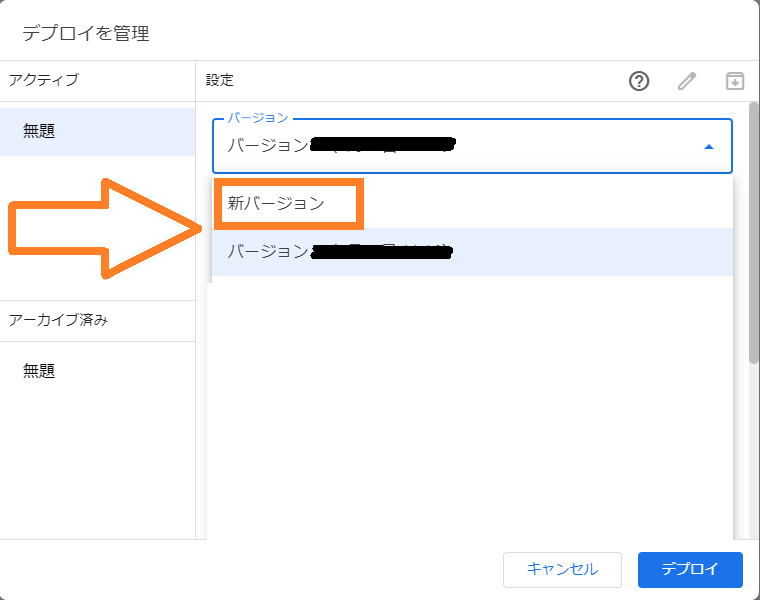
バージョン下に表示される新しいバージョンをクリックします。
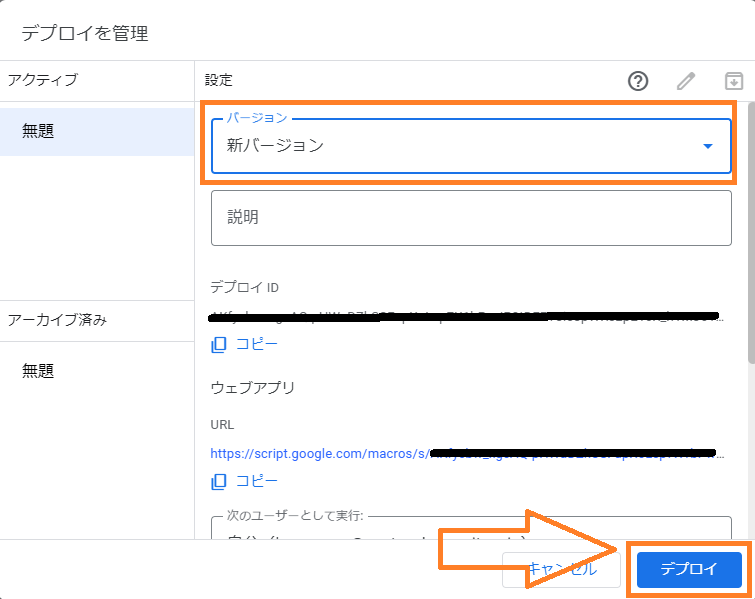
バージョンが新しいバージョンに変わったのを確認したら、右下のデプロイをクリックします。
実際にLINE会話してみましょう。
メッセージの中身を変える場合は下の部分を書き換えます。
赤枠のメッセージが送られると、青枠のメッセージが返信されます。
こんにちはと挨拶ありがとう!を好きなメッセージに書き換えてみましょう。
 if (message == "こんにちは")
 {
   message = "挨拶ありがとう!";
 }
 else if (message == "さようなら")
 {
   message = "またね!";
 }
 else
 {
   message = post_json.events[0].message.text;
 }
上のメッセージを下のメッセージに書き換えてみます。
 if (message == "おはようございます")
 {
   message = "いい天気ですね";
 }
 else if (message == "おやすみなさい")
 {
   message = "いい夢を!";
 }
 else
 {
   message = post_json.events[0].message.text;
 }
メッセージが変わっているのが確認できます。