以下の点に注意してから作業を始めてください!
- パソコンで作業をする
- ブラウザの自動翻訳機能をオフにする
GASスクリプト作成
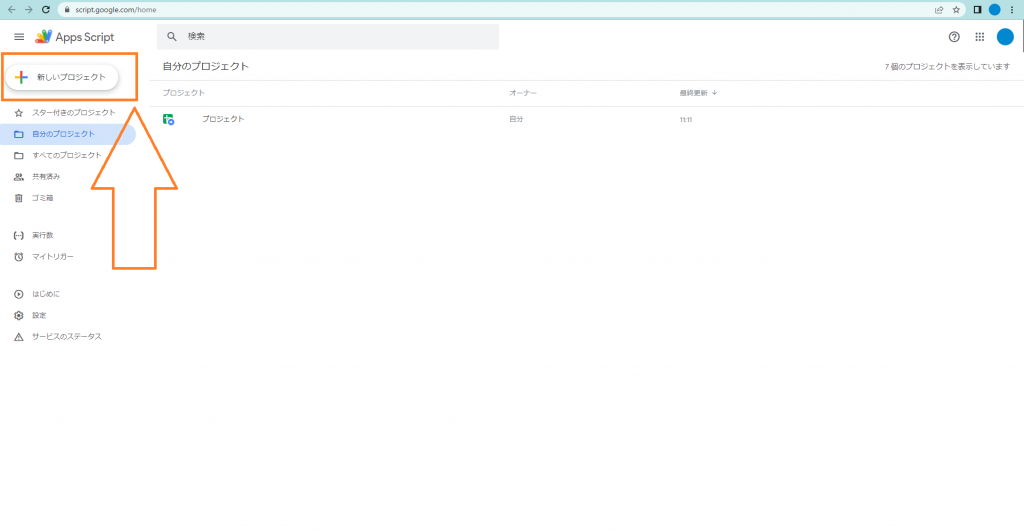
1.https://script.google.com/homeにアクセスします。
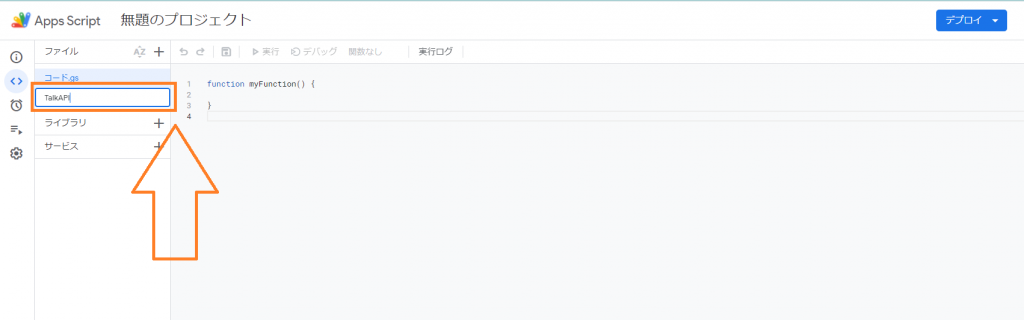
画面左上にある新しいプロジェクトをクリックします。
画面左上の+マークのアイコンをクリックし、下に表示されるスクリプトをクリックします。
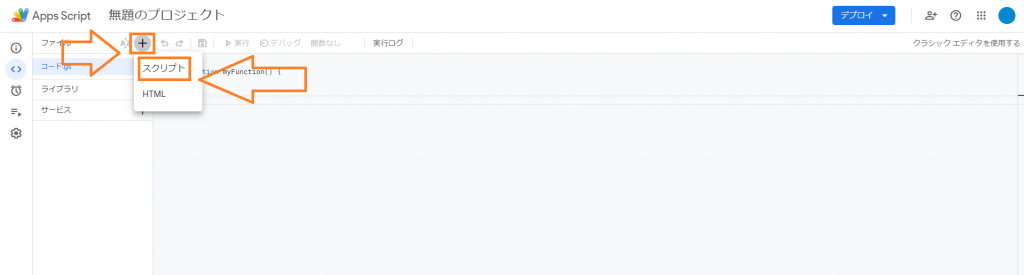
画面左側に新規作成されるので、名前をTalkAPIと入力します。
2.TalkAPI.gsにプログラムを書きます。
TalkAPI.gsが選択された状態を確認してから、下記のプログラムをコピーして貼り付けます。
Talk APIキーはこちらを参考に入手します。
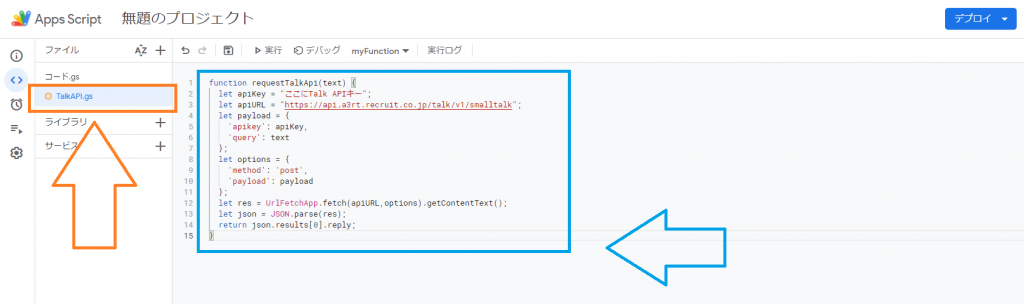
function requestTalkApi(text) {
    let apiKey = "ここにTalk APIキー";
    let apiURL = "https://api.a3rt.recruit.co.jp/talk/v1/smalltalk";
    let payload = {
        'apikey': apiKey,
        'query': text
    };
    let options = {
        'method': 'post',
        'payload': payload
    };
    let res = UrlFetchApp.fetch(apiURL, options).getContentText();
    let json = JSON.parse(res);
    return json.results[0].reply;
}TalkAPIを作ったのと同じように、LINEMessagingAPIを作ります。
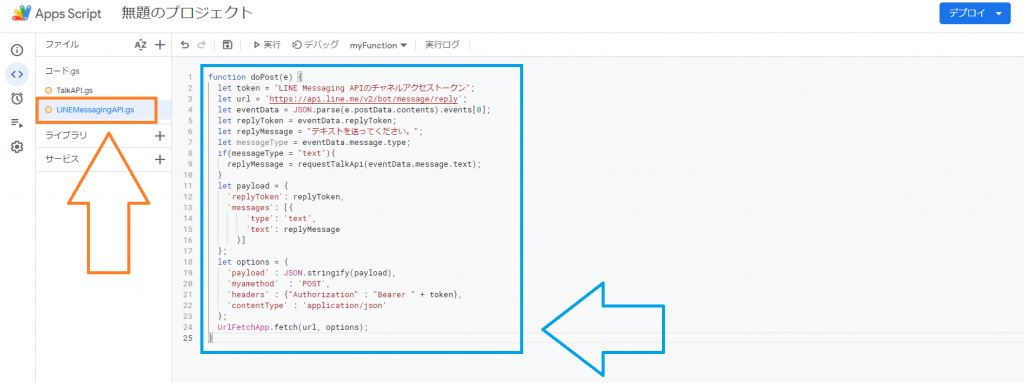
function doPost(e) {
let token = "LINE Messaging APIのチャネルアクセストークン";
let url = 'https://api.line.me/v2/bot/message/reply';
let eventData = JSON.parse(e.postData.contents).events[0];
let replyToken = eventData.replyToken;
let replyMessage = "テキストを送ってください。";
let messageType = eventData.message.type;
if (messageType = "text") {
replyMessage = requestTalkApi(eventData.message.text);
}
let payload = {
'replyToken': replyToken,
'messages': [{
'type': 'text',
'text': replyMessage
}]
};
let options = {
'payload': JSON.stringify(payload),
'myamethod': 'POST',
'headers': { "Authorization": "Bearer " + token },
'contentType': 'application/json'
};
UrlFetchApp.fetch(url, options);
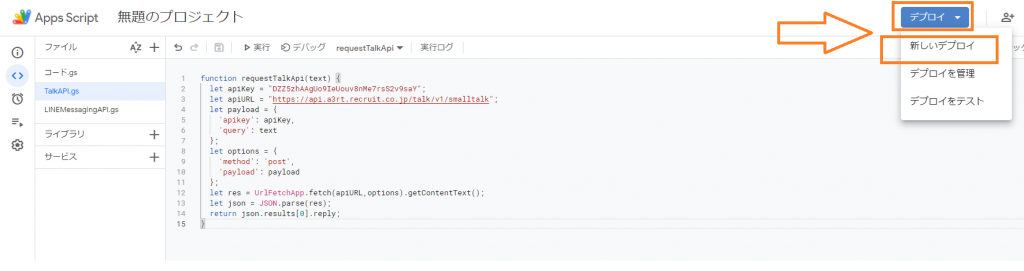
}3.ウェブアプリケーションとしてデプロイします。
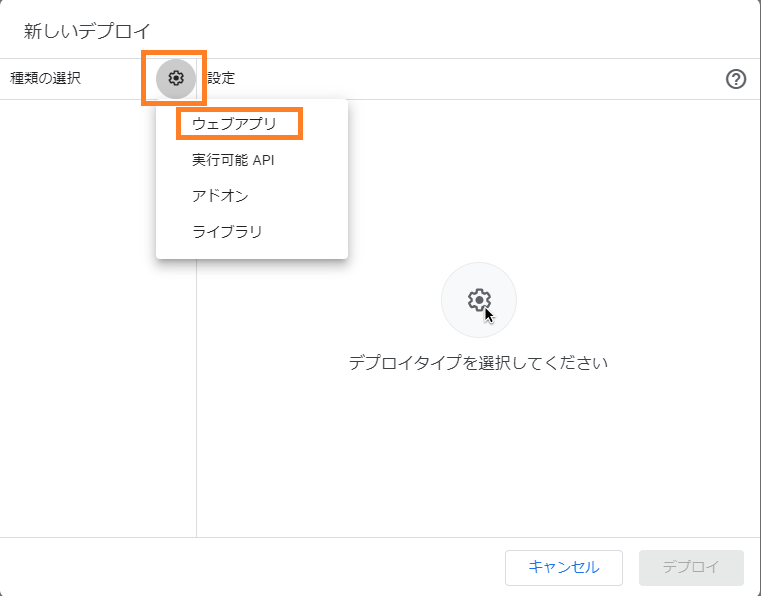
右上のデプロイをクリックし、下に表示される新しいデプロイをクリックします。
新しいデプロイの右下にある歯車のアイコンをクリックし、表示されるウェブアプリをクリックします。
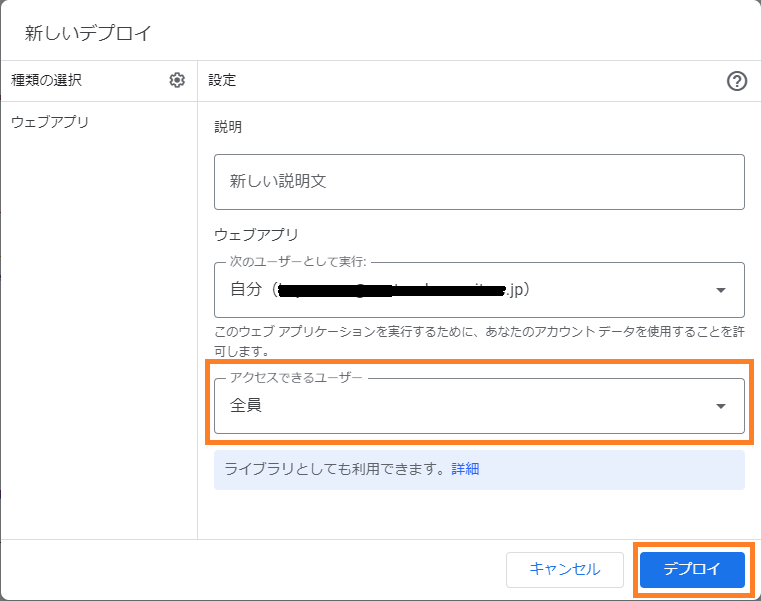
アクセスできるユーザーを全員に変え、右下のデプロイをクリックします。
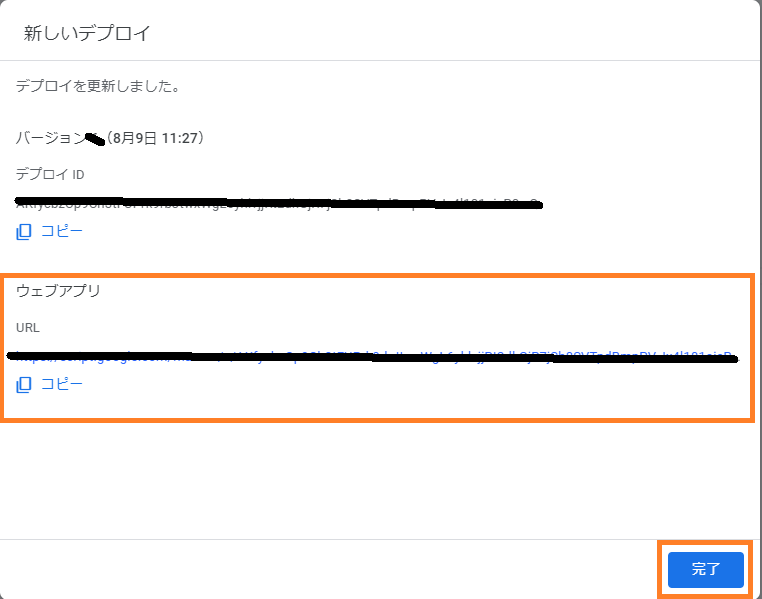
4.デプロイをクリックすると、アクセスの許可が求められます。
最後に表示されるウェブアプリのURLは忘れずにコピーします。
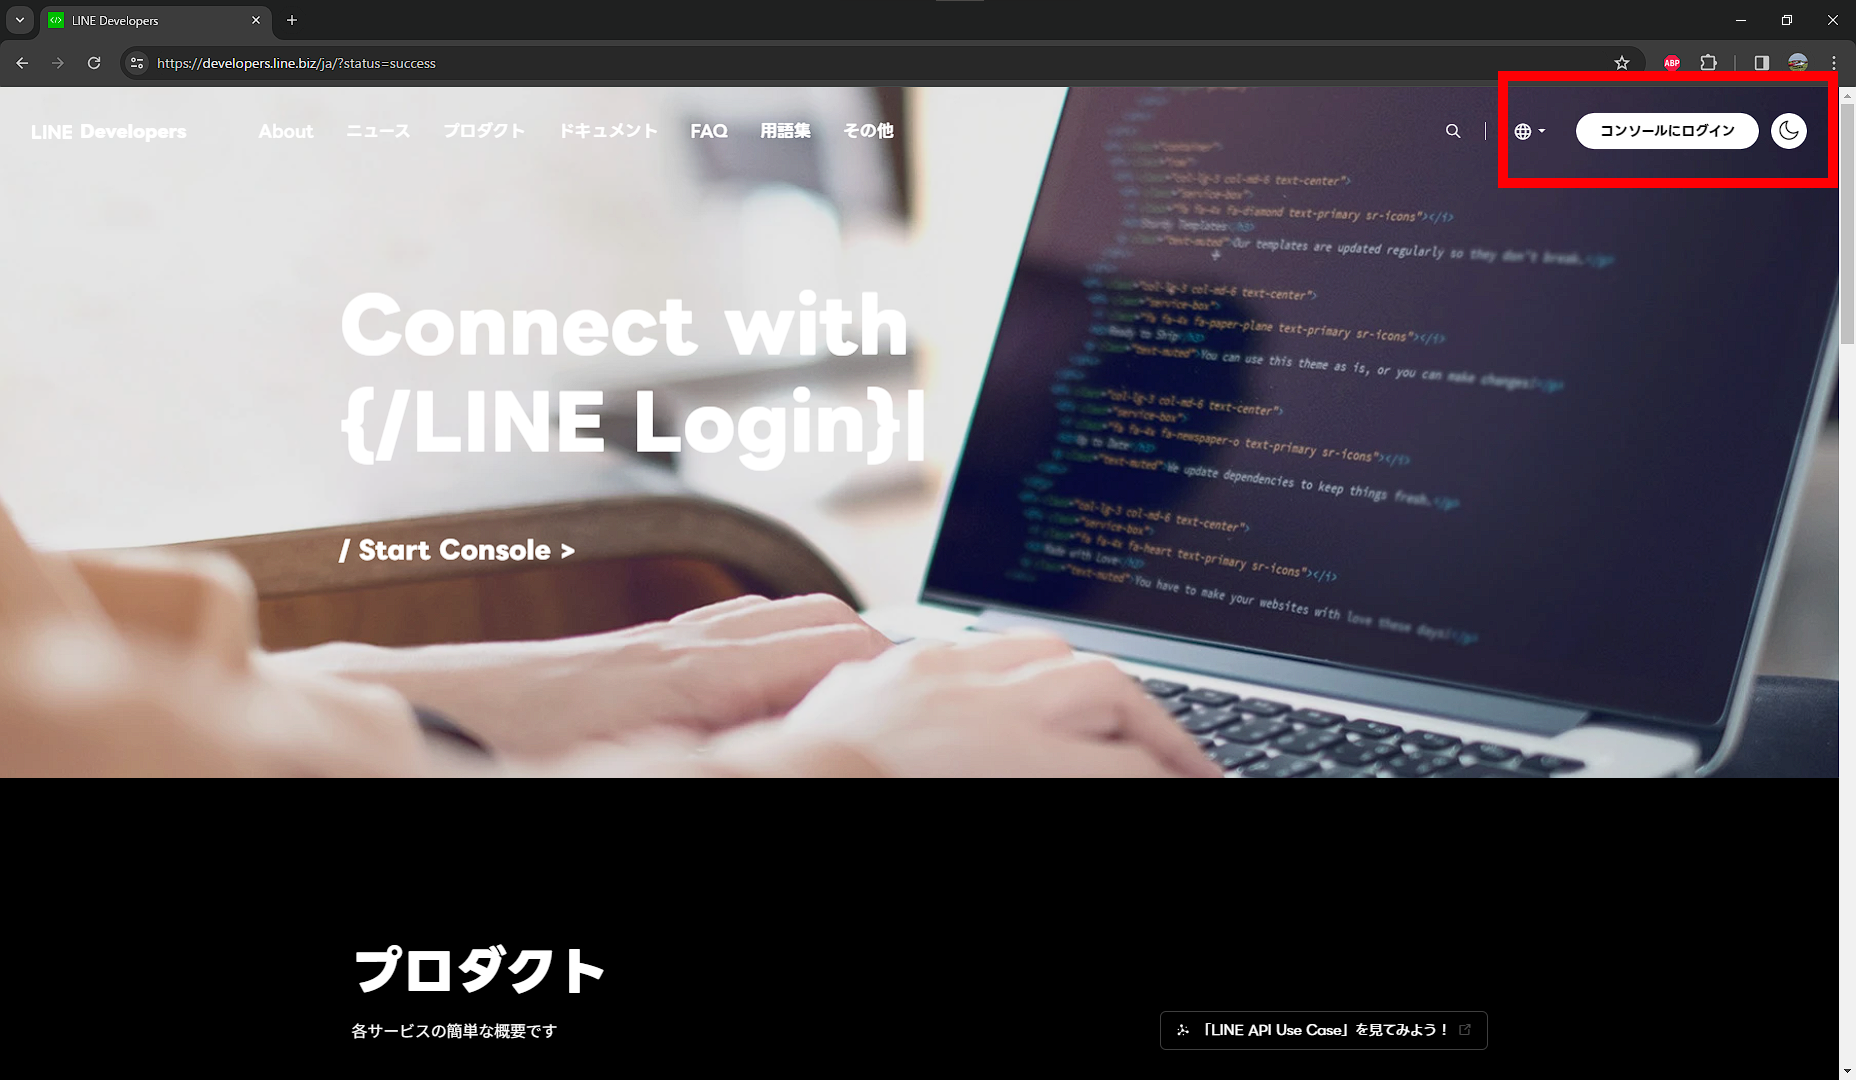
5.LINE DevelopersコンソールにWebhook URLを入れます。
https://developers.line.biz/ja/にアクセスし、右上のログインをクリックします。
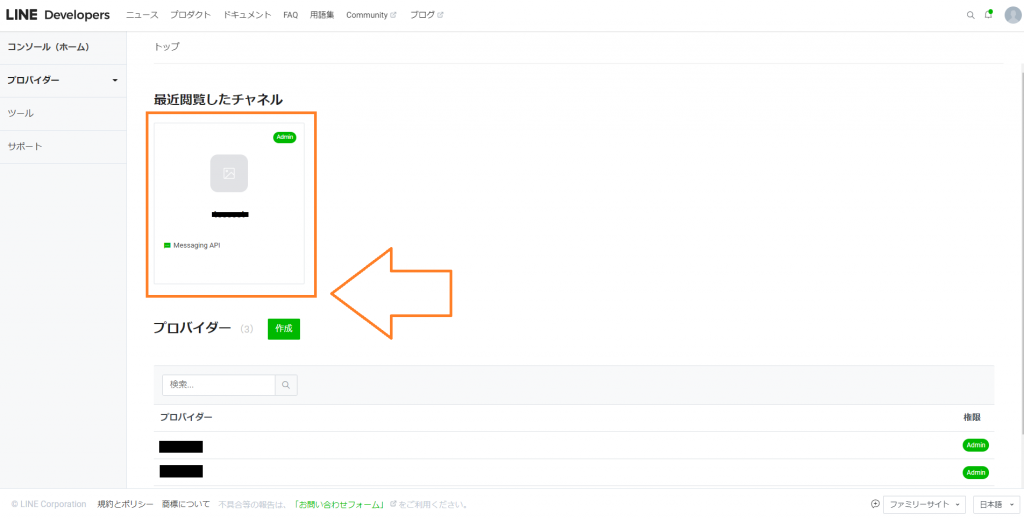
最近閲覧したチャネルの下にある、自分が作ったチャネルをクリックします。
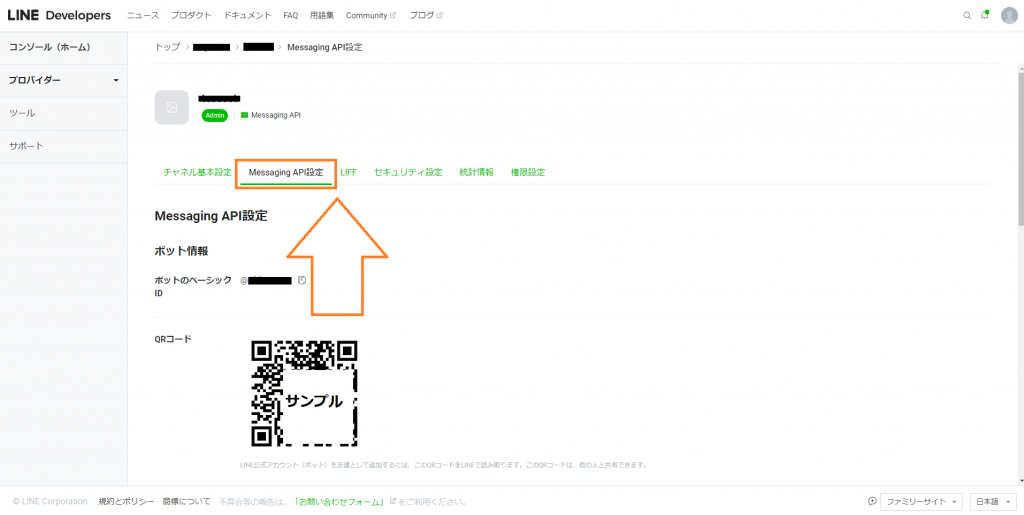
画面中央付近にあるMessaging API設定をクリックします。
画面を下にスクロールしていき、Webhook URLの横にある編集をクリックします。
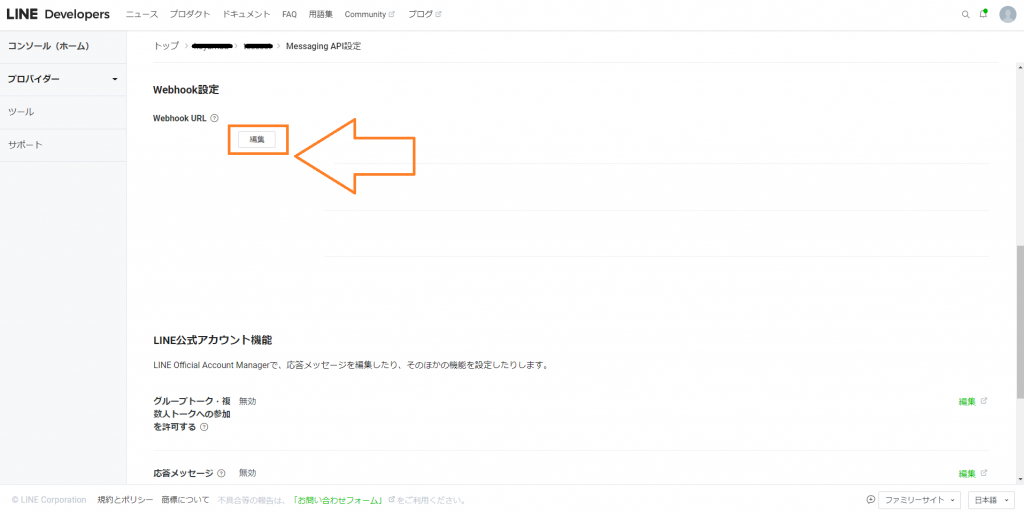
既にURLが入っている場合は編集をクリックしてからURLを入れ替えます。

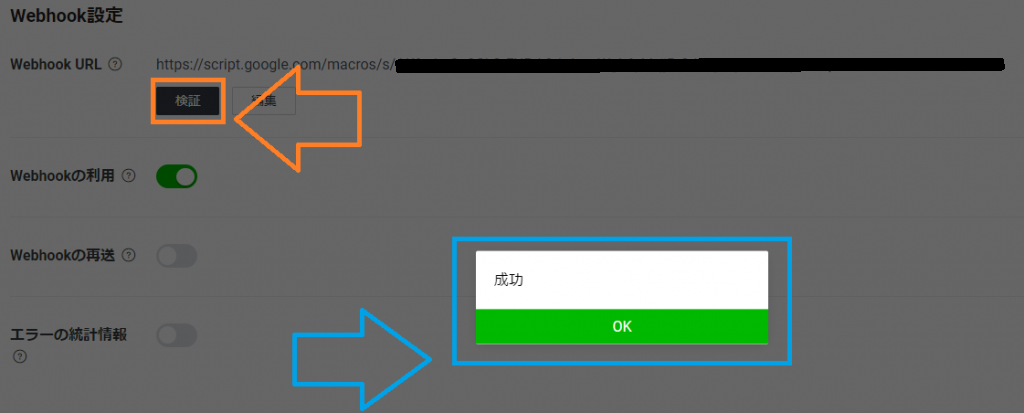
Webhook URL横の空欄に、先ほどコピーしておいたウェブアプリのURLを貼り付けてから更新を
クリックします。

Webhook URLの右下にある検証をクリックし、成功と表示されれば完了です。
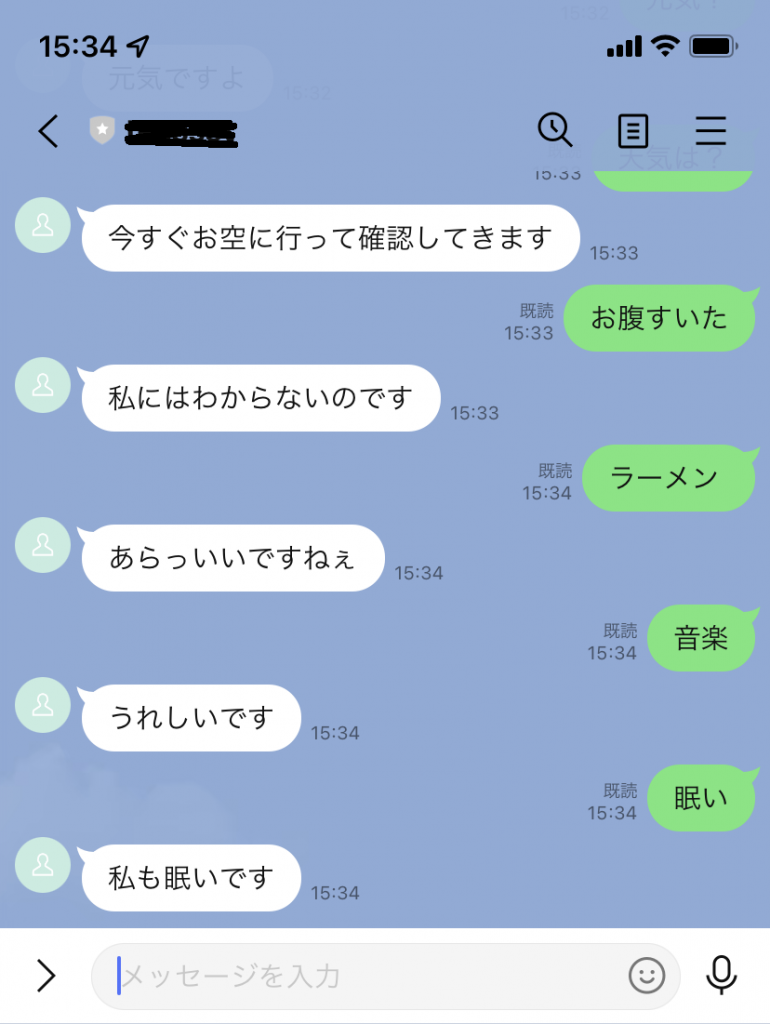
7.実際にLINEで会話してみます。