以下の点に注意してから作業を始めてください!
- パソコンで作業をする
- ブラウザの自動翻訳機能をオフにする
スプレッドシートの準備
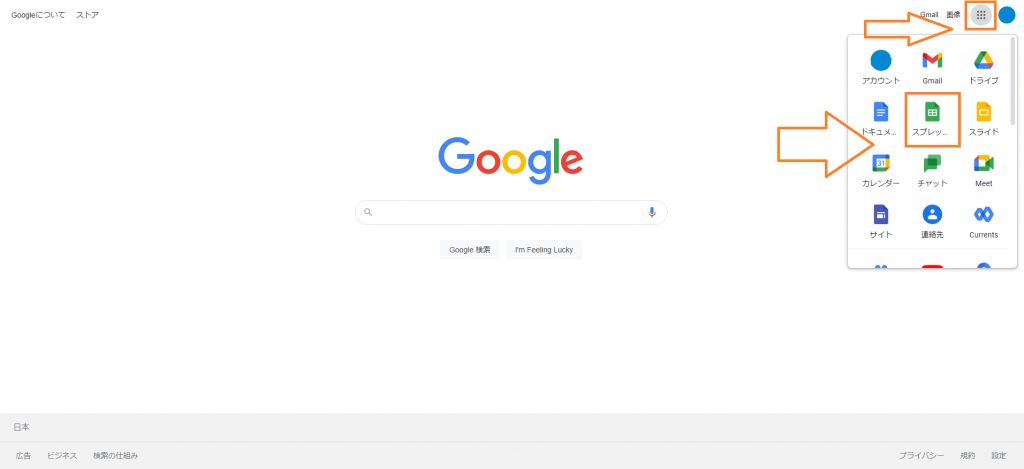
1.ページ右上の![]() をクリックし、メニューに表示されるスプレッドシートをクリックします。
をクリックし、メニューに表示されるスプレッドシートをクリックします。
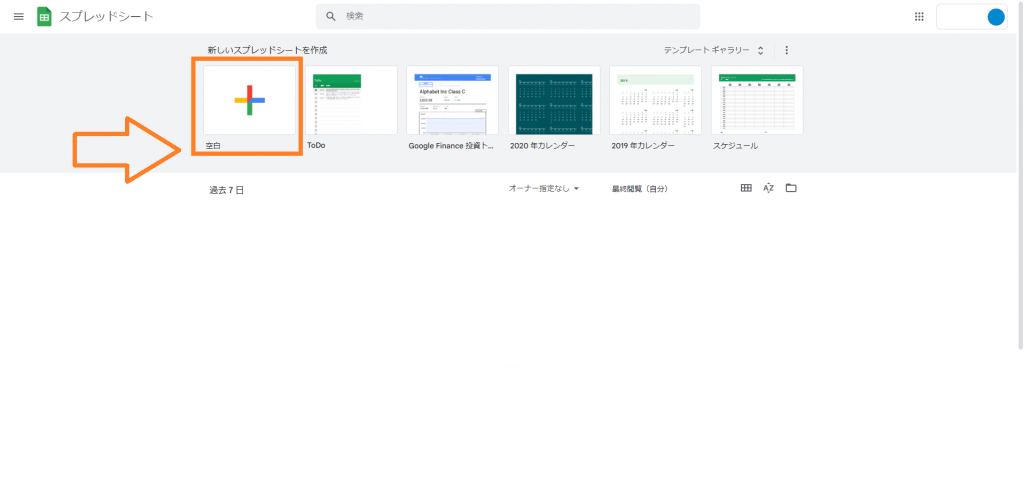
2.新しいスプレッドシートを作成の下にある、空白をクリックします。
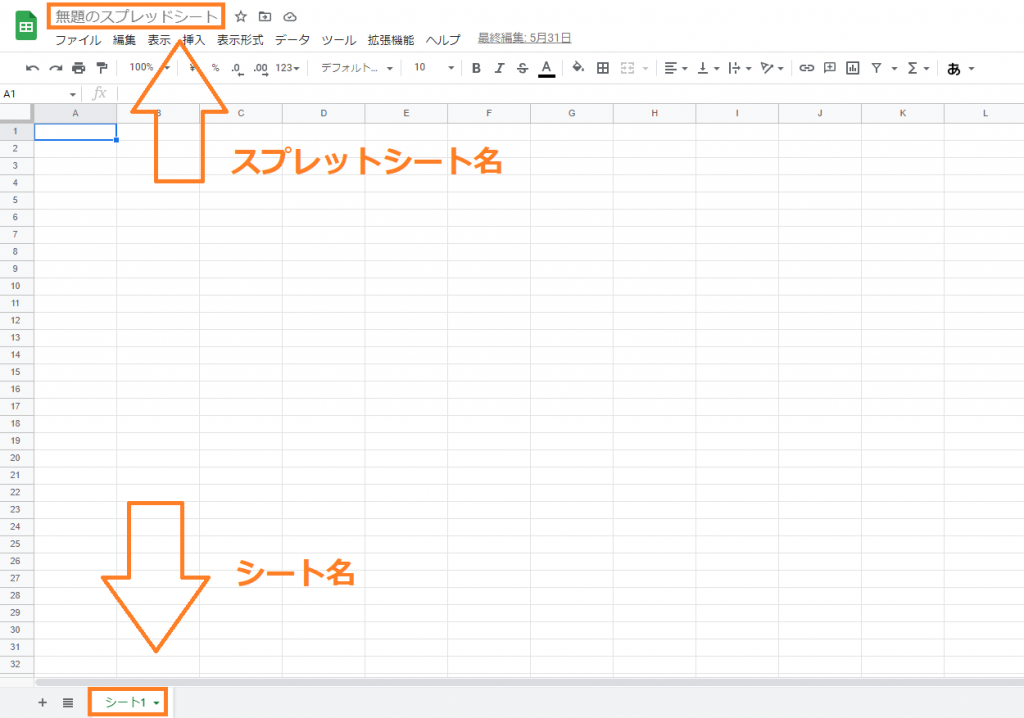
3.スプレッドシート名とシート名を変更します。
変更するには上側にある無題のスプレッドシートをクリックし、自分の好きな名前に書き換えます。下側にあるシート名はダブルクリックをして自分の好きな名前に書き換えます。
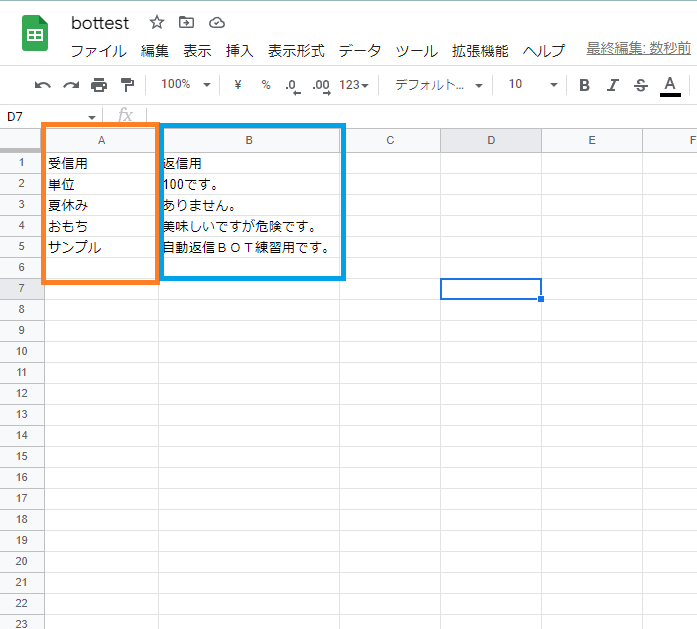
4.受信用と返信用の語句を入力します。
A列には自分が送信する語句を書き、B列にはBOTが返信する語句を書きます。
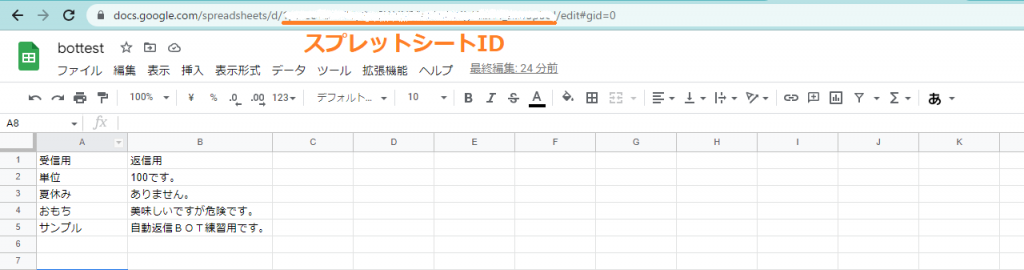
5.スプレッドシートIDの確認をします。
スプレッドシードIDはURLの一部です、スプレッドシートを開いているブラウザのアドレスバーを見ることでスプレッドシートIDを確認できます。

Apps Scriptにプログラミング+公開設定
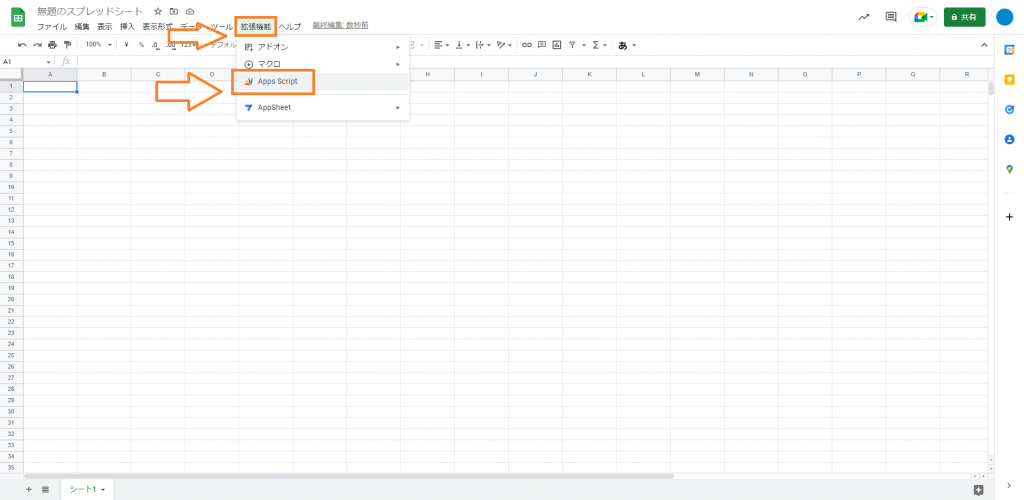
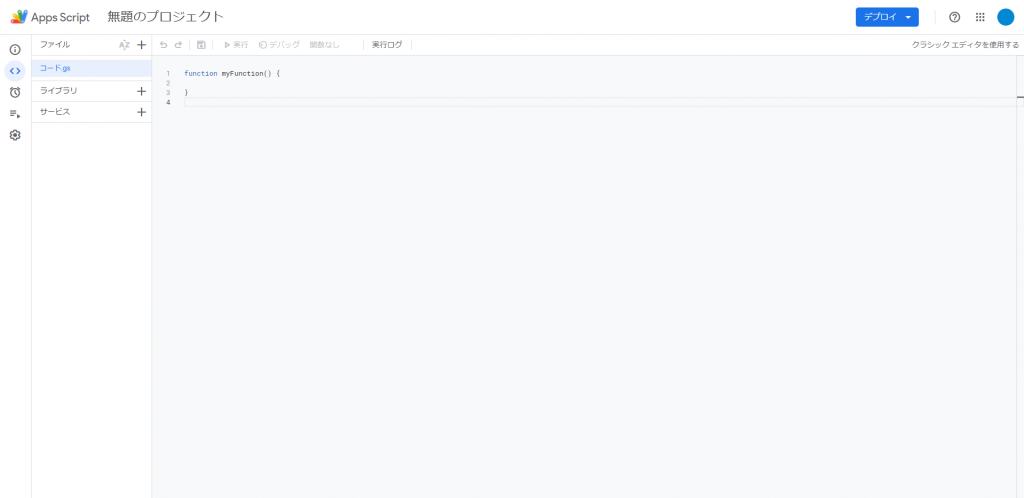
1.Apps Scriptを開きます。
ページ内の上側にある拡張機能をクリックし、下に表示されたApps Scriptをクリックします。
2.Apps Scriptの画面が表示されます。
元々書いてあるコードはすべて消し、画像下にあるコードを貼り付けます。
var LINE_ACCESS_TOKEN = "チャネルアクセストークンをここに入力";
var ss = SpreadsheetApp.openById("スプレッドシートIDをここに入力");
var sh = ss.getSheetByName("シート名をここに入力");
function doPost(e) {
if (typeof e === "undefined") {
return;
} else {
var json = JSON.parse(e.postData.contents);
replyFromSheet(json)
}
}
function replyFromSheet(data) {
var replyUrl = "https://api.line.me/v2/bot/message/reply";
var lastRow = sh.getLastRow();
var wordList = sh.getRange(1, 1, lastRow, 2).getValues();
var reply_token = data.events[0].replyToken; //reply token
var text = data.events[0].message.text;
var replyTextList = [];
for (var i = 1; i < wordList.length; i++) {
if (wordList[i][0] == text) {
replyTextList.push(wordList[i][1]);
}
}
if (replyTextList.length < 1) {
return;
} else if (replyTextList.length > 5) {
var messageLength = 5;
} else {
var messageLength = replyTextList.length;
}
var messageArray = [];
for (var j = 0; j < messageLength; j++) {
messageArray.push({ "type": "text", "text": replyTextList[j] });
}
var headers = {
"Content-Type": "application/json; charset=UTF-8",
"Authorization": "Bearer " + LINE_ACCESS_TOKEN,
};
var postData = {
"replyToken": reply_token,
"messages": messageArray
};
var options = {
"method": "post",
"headers": headers,
"payload": JSON.stringify(postData)
};
UrlFetchApp.fetch(replyUrl, options);
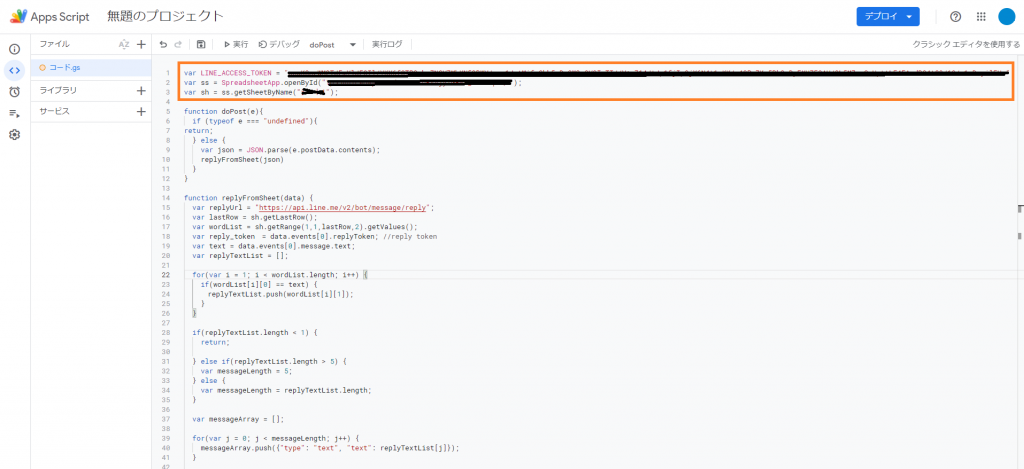
}3.Apps Scriptに必要な情報を入力します。
- var LINE_ACCESS_TOKEN = “チャネルアクセストークン”;
- var ss = SpreadsheetApp.openById(“スプレッドシートID”);
- var sh = ss.getSheetByName(“シート名”);
上記3点を自分の物に書き換えればプログラミングは完了です。
4.GASとMessaging APIの接続をしていきます。
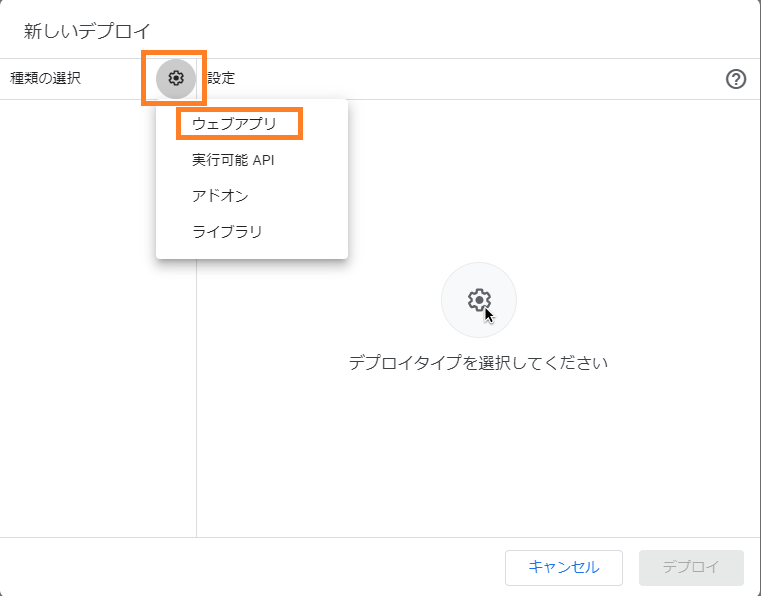
ページ右上のデプロイをクリックし、下に表示される新しいデプロイをクリックします。

新しいデプロイの右下にある歯車のアイコンをクリックし、表示されるウェブアプリをクリックします。
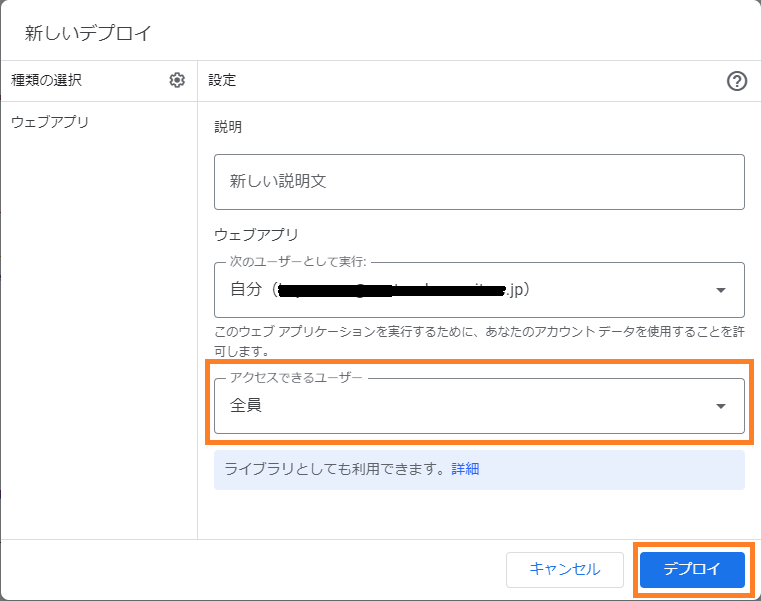
アクセスできるユーザーを全員に変え、右下のデプロイをクリックします。
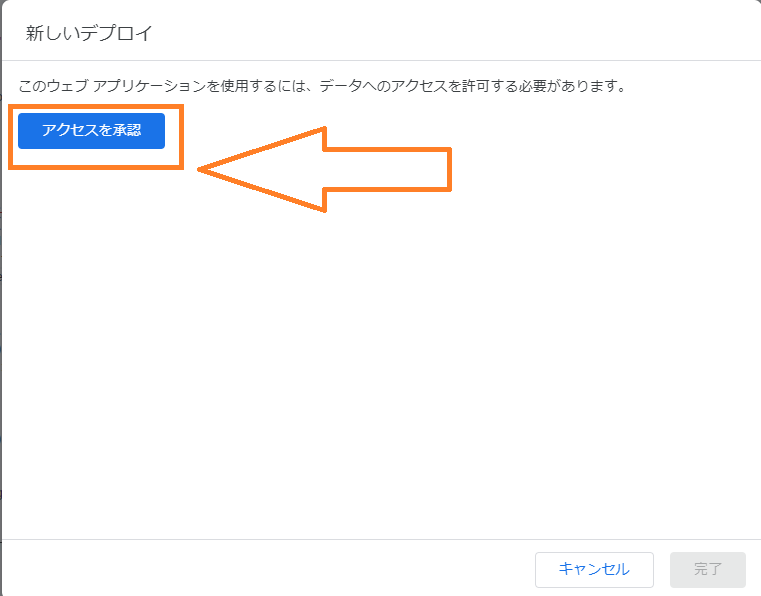
5.デプロイをクリックすると、アクセスの許可が求められます。
アクセスの承認をクリックします。
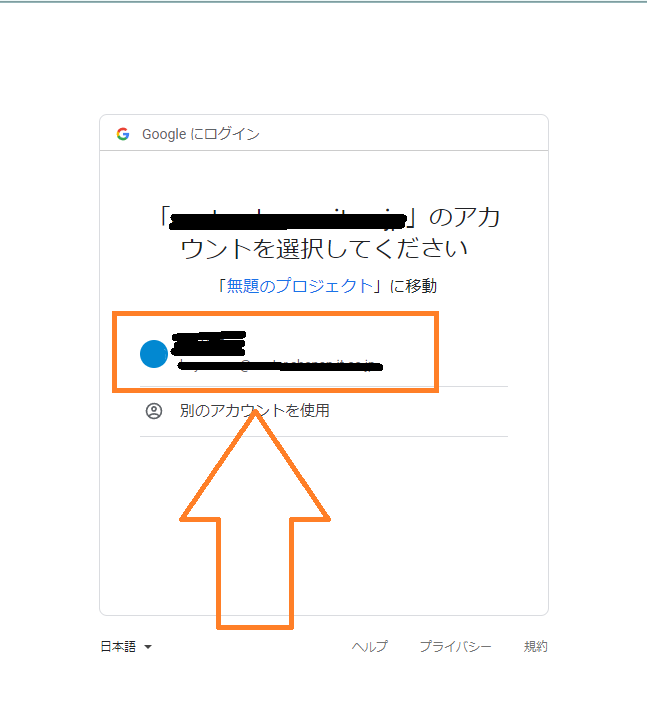
オレンジの枠で囲われた自分のアカウント上をクリックします。
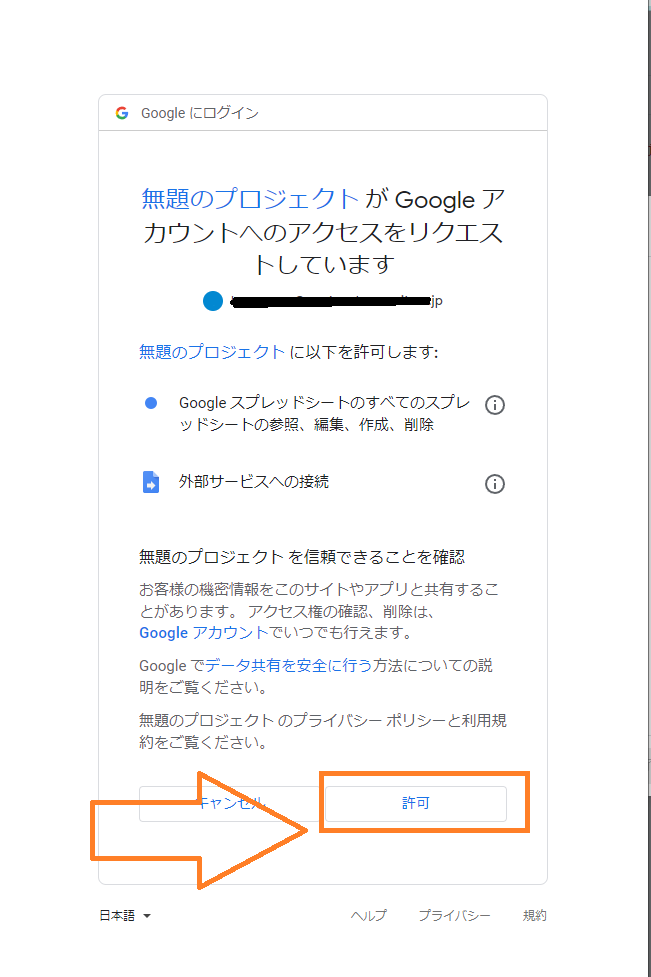
下にある許可をクリックします。
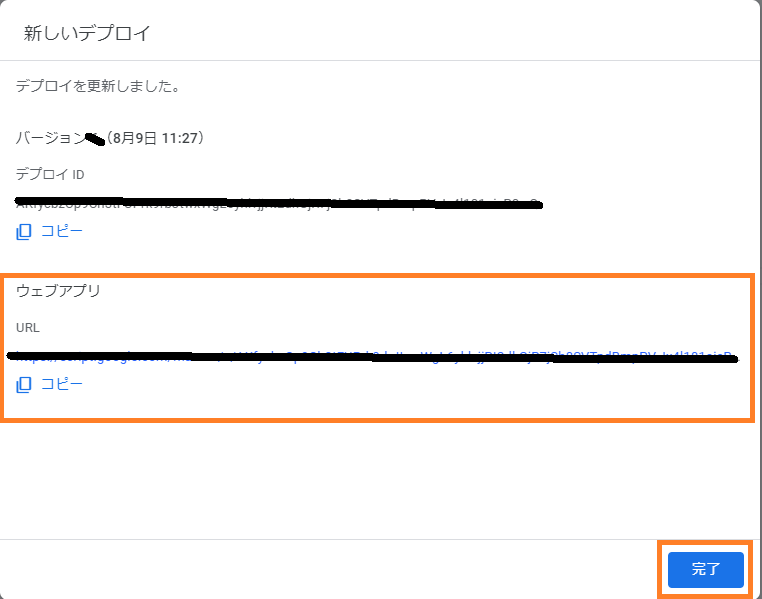
デプロイを更新しました。と表示されるので、この後使うウェブアプリのURLをコピーしてから完了をクリックします。
6.LINE DevelopersコンソールにWebhook URLを入れます。
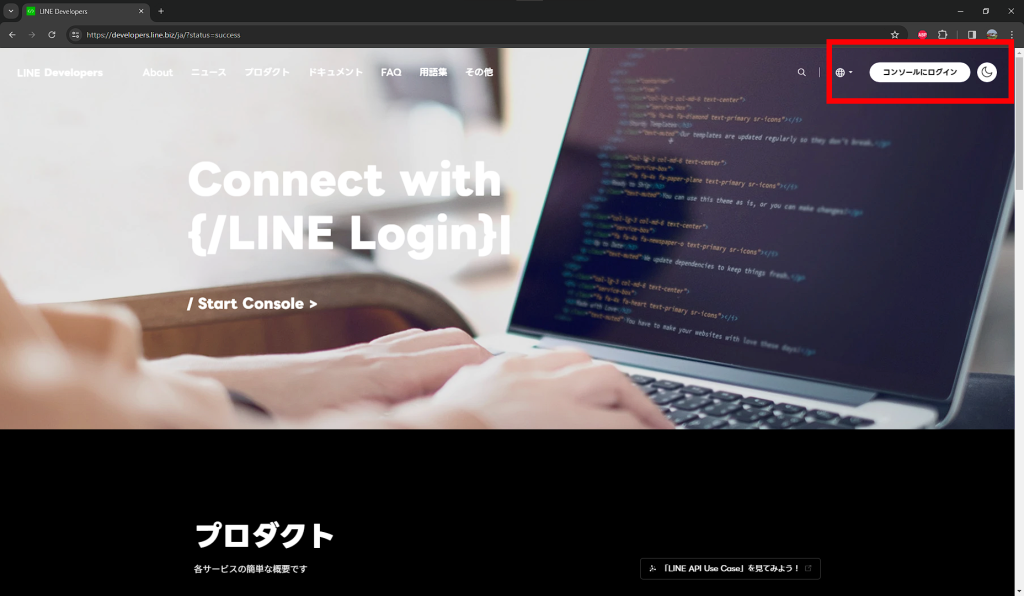
https://developers.line.biz/ja/にアクセスし、右上のログインをクリックします。
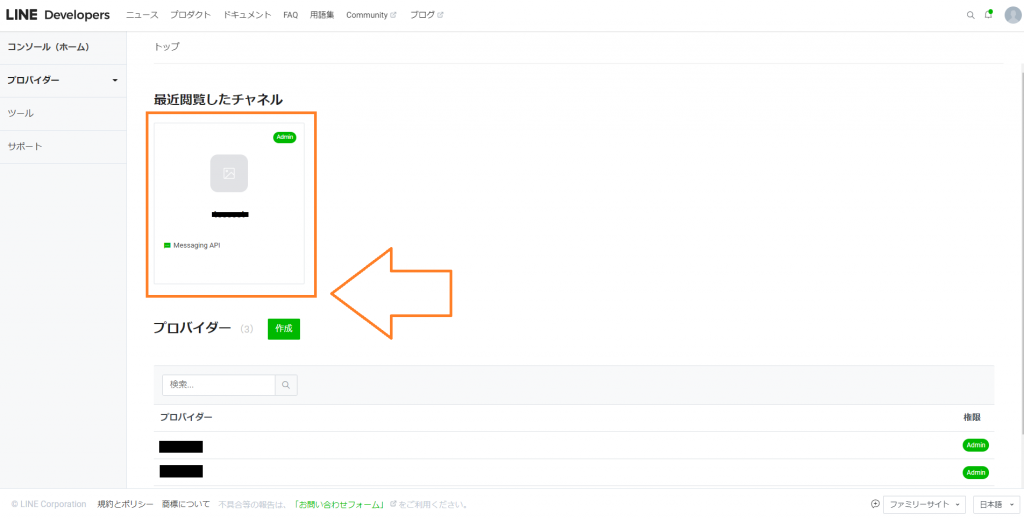
最近閲覧したチャネルの下にある、自分が作ったチャネルをクリックします。
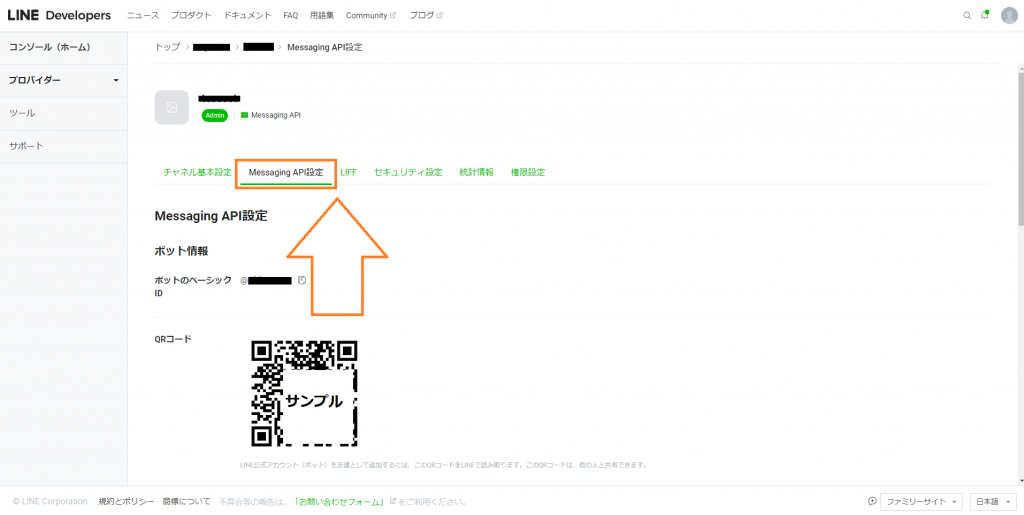
画面中央付近にあるMessaging API設定をクリックします。
画面を下にスクロールしていき、Webhook URLの横にある編集をクリックします。
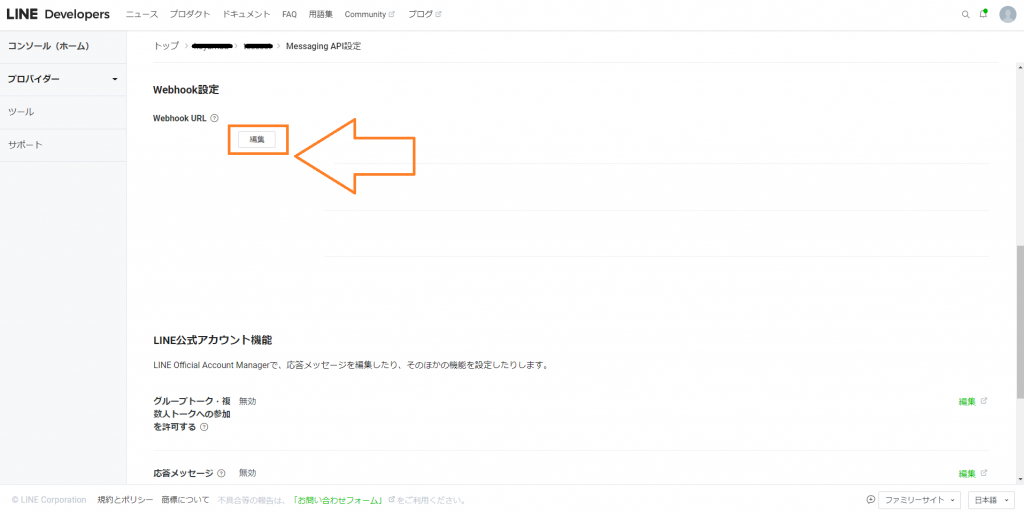
Webhook URL横の空欄に、先ほどコピーしておいたウェブアプリのURLを貼り付けてから更新をクリックします。

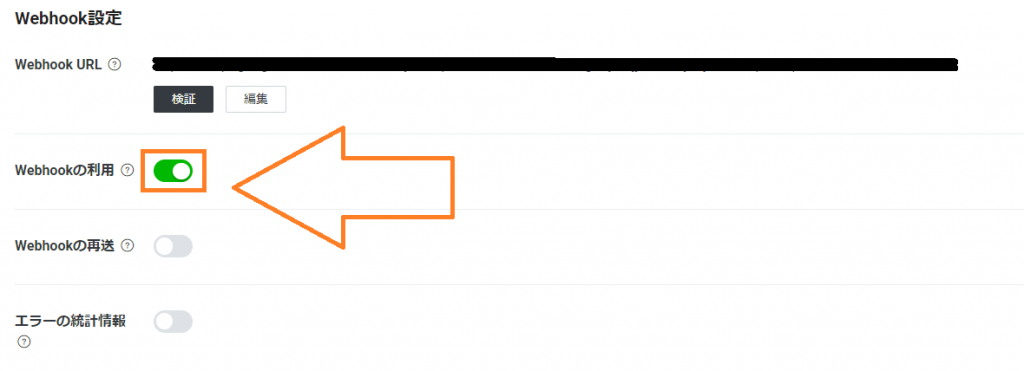
Webhookの利用 横にあるボタンをクリックしてオンにします。
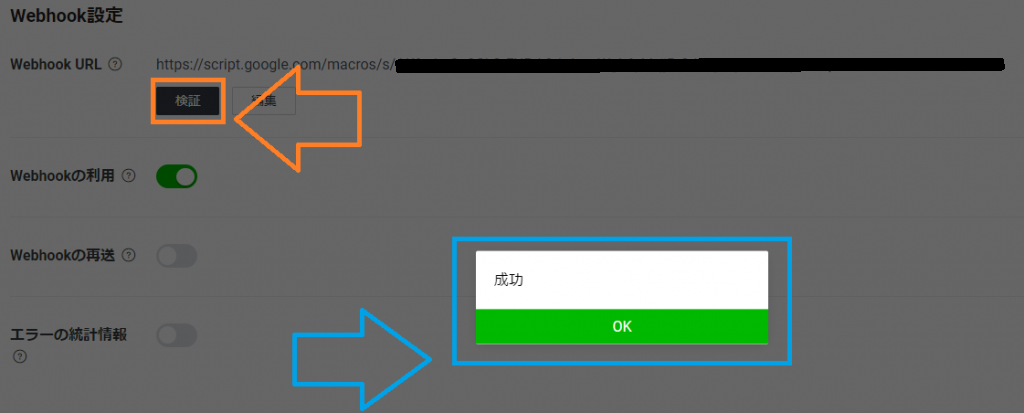
Webhook URLの右下にある検証をクリックし、成功と表示されれば完了です。
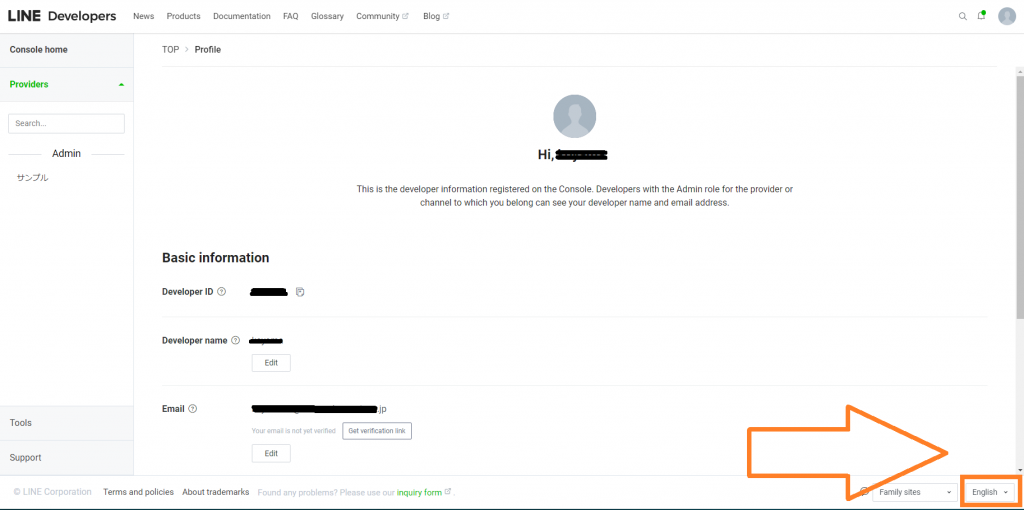
検証ボタンを押すとエラーが出る場合
LINE Developpersが英語版になっていませんか?ブラウザの翻訳機能で無理やり日本語にしてしまうとエラーが出てしまいます。
日本語にする場合は一度ページを更新(F5キー等)して英語表示に戻してからページ右下のEnglish 横にある▼をクリックして日本語にしてください。
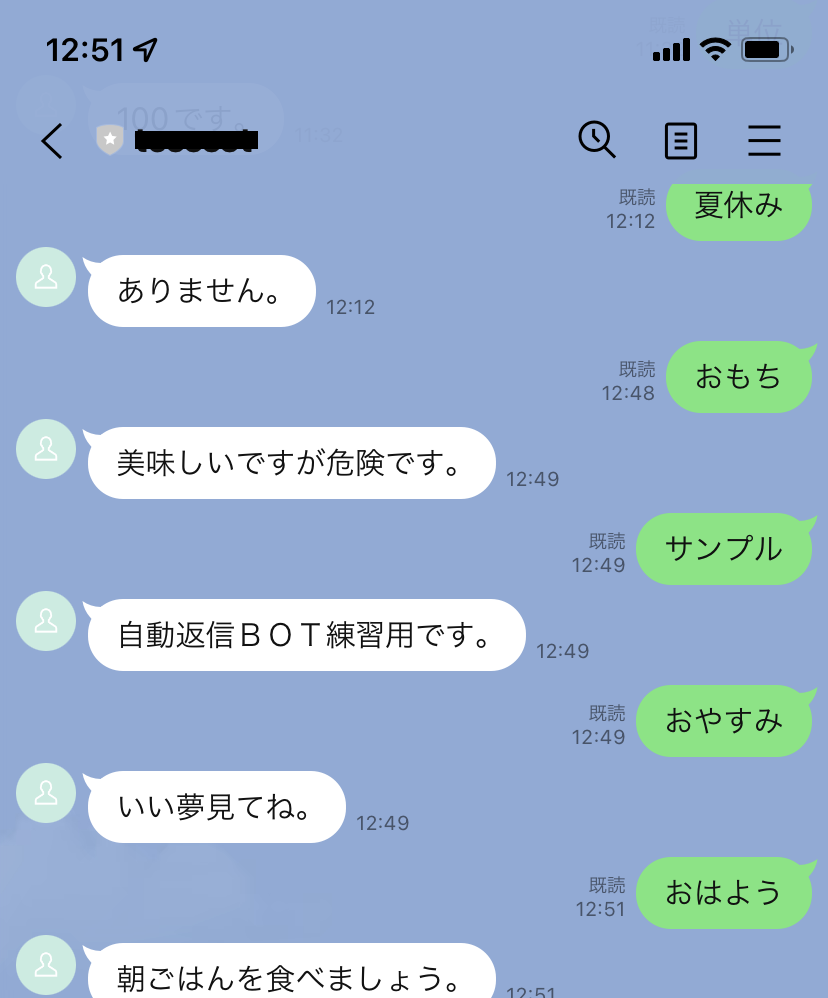
7.実際にLINEで会話してみましょう。